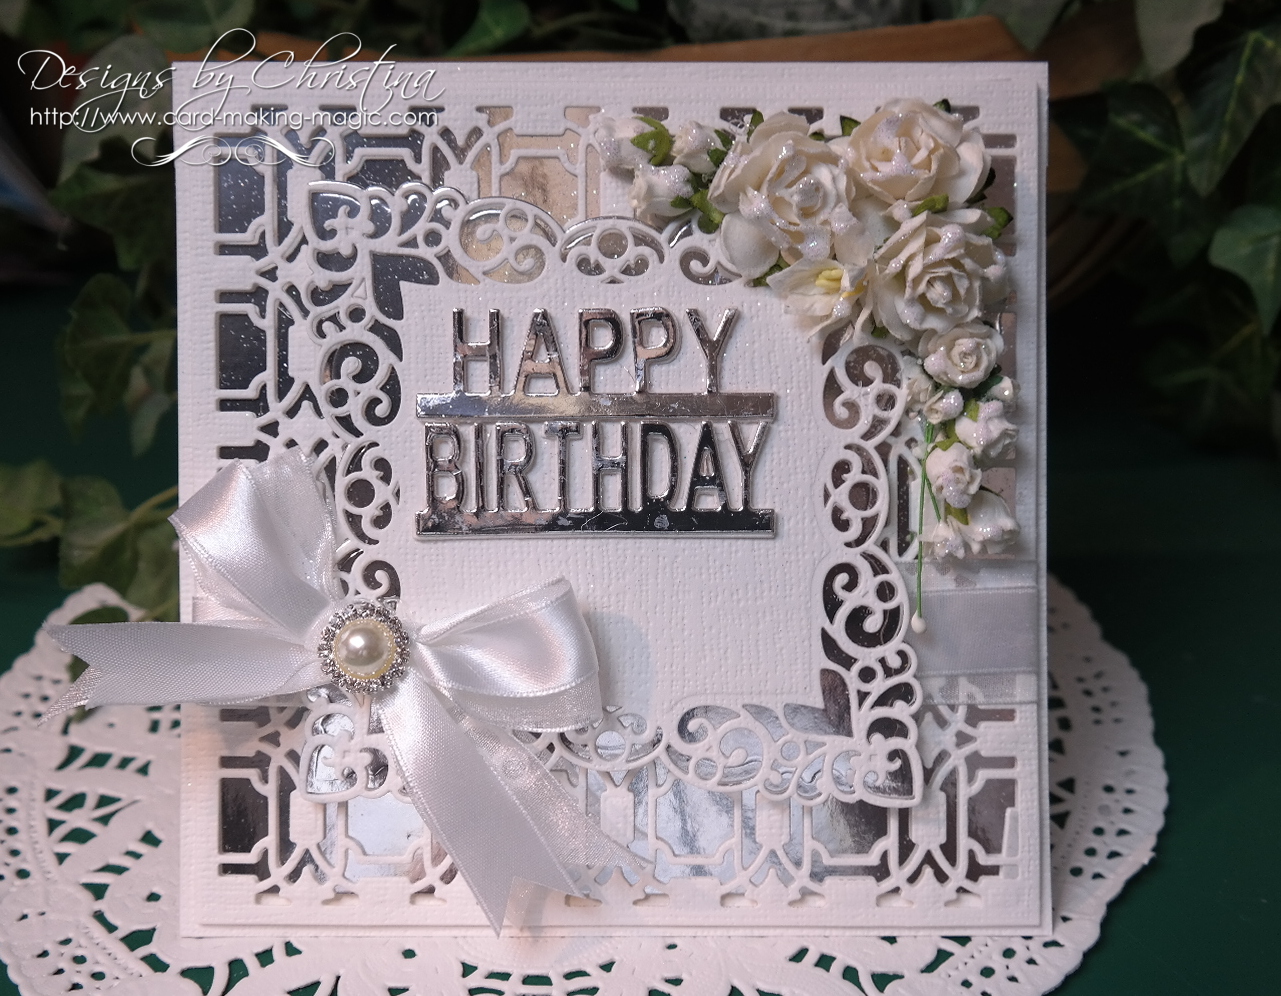
This pretty card is created with a relatively new die from Spellbinders and this is an A2 size. To make this one I have started with the card front itself and worked my way back to make the base at the end. The overall effect is very pretty in shades of lilac and purple

Spellbinders Supplies:
Other Supplies:
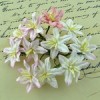
- Flowers and Dazzler from Wild Orchid Crafts
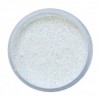
- Glitter from Glitter Magic
- Ribbon from Mei Flower
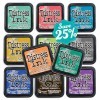
- Dusty Concord Distress Ink
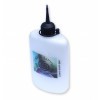
- Cosmic Shimmer Dries Clear Glue
Instructions:

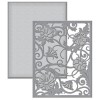
With both dies from the Acanthus Leaf cut one panel in white and ink through the die before removing the card (I used Dusty Concord)

Add foam tape to the back of the die cut in areas that cannot be seen from the front
Add this to some text paper

Layer this panel onto some darker purple paper and leave a border around the edge the size you want it to be
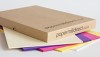
The paper that I have used is called Vintage Notes and is available in the Poundland Shops in the UK
There are 32 sheets of 200 gsm paper with some lovely designs

Wrap these with some white ribbon and secure on the back
Tie a small bow for the front
Stamp and heat emboss the sentiment of your choice
Now you can create the base card to add these layers too and make it the size that you want it to be

The flowers I have used are from left to right:
Heather, Anemone, Chrysanthemum, Tulips, Roses and Rosebuds
Add to the left of the card and tuck the sentiment in place with the flowers

Add the Dazzler to the bow
Dot the flowers with some glue and sprinkle with glitter
Line the inside of the card with the same papers for a really pretty look.
More tomorrow ...
Hugs xx