Beautiful Card Designs Made Easy

Showing posts with label Tuesday Tutorial. Show all posts

October 17, 2017

Tuesday Tutorial - Rouge Royale

Hi Everybody,

Glitter cards is used on today's card for a really sparkly effect that was quick and easy to make. The addition of the flowers takes it to another level and it would suit many occasions
Spellbinders Supplies:

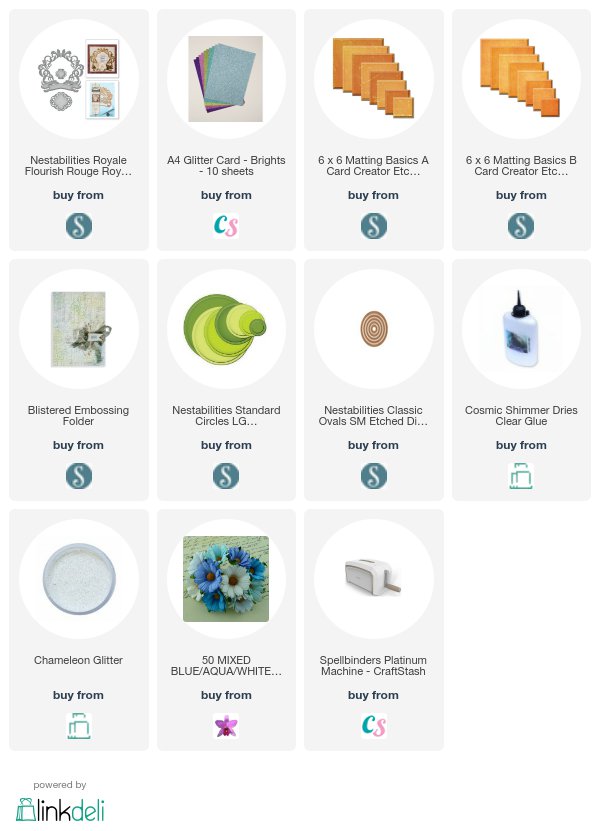
  • Rouge Royale Flourish
  • Standard Ovals
  • Standard Circles
  • Blistered Embossing Folder
  • 6x6 Matting Basics A and B
  • Platinum Die Cutting Machine
Other Supplies:
  • Glitter card
  • Flowers
  • White Ribbon
  • Button from my stash
  • Birthday Stamp
Instructions:
With die #8 Matting basics A cut two pieces in white to create the base card.
With die#8 Matting Basics B cut another in white and emboss in the folder ... moving it along as needed
(Die #1 is always the smallest)
From the Glitter card cut the largest Flourish die
Cut a white oval from the largest and the next die down in Glitter card
Stamp the sentiment and cut with a circle
Add to the card front as shown and wrap with ribbon wrap with white ribbon before adding to the base card.
Add the other elements with foam pads underneath adding a little extra wet glue when adding the layer to the Glitter Card
Choose the flowers. I have used from left to right:
Roses in two colours and two sizes ... Anenome ... Tulips in two shades
I added them with a glue gun.
Dot with wet glue and sprinkle with glitter 
I added a bow and placed a button over the knot 

More tomorrow ...

Hugs xx


October 10, 2017

Tuesday Tutorial - Eliza Lace Corners

Hi Everybody,

Today's card is a really pretty A2 size in pink and white. Perfect size to send in the post and will fit a standard sized envelope. Add any sentiment to the front that suits your occasion and send with love.
Spellbinders Supplies:
  • Rebel Rose Untamed Tags
  • Eliza Lace Corners
  • Gossamer Knot
  • Hello sentiment
  • Embossing Folder
  • A2 Matting Basics A
  • Platinum Die Cutting Machine
Other Supplies:
  • Cosmic Shimmer Dries Clear Glue
  • White & Pink card
  • Docrafts Liquid Pearl drops
Instructions:
With the largest die from Matting Basics A cut two pieces to create the base card
Hand cut a slightly smaller panel to leave a small border around the edge
With this panel add the inner cutting dies from the Eliza Lace in each corner
Then add to your folder and emboss
With the smallest Gossamer Knot cut one panel in pink and one of the tags also
Cut "Hello" several times in white and stack them together
Layer up all the die cuts to the front of the card and dot with some liquid pearls
Set aside to dry.

More tomorrow ...

Hugs xx

October 03, 2017

Tuesday Tutorial - Tumbling Blocks

Hi Everybody,

Today I am using one of the dies from Spellbinders Designer Lene Lok 
 Here I have created two cards ... one for the boys and the other most definitely for the girls with Flowers, Ribbons and Pearls ... and Pink !!
So first the card  with a male theme and all the links are at the bottom of the page
Spellbinders Supplies:
  • S2-276 Tumbling Blocks
  • 5x7 Matting Basics A & B
  • Platinum Die Cutting Machine
Other Supplies:
  • Distress Inks in your favourite colours
  • Sponges
  • Flowers
  • Ribbons
  • Pearls
  • Glitter
Instructions:
With die # 7 from Matting Basics A cut two pieces in white card to
  Create A Hinged Card
With die #7 from the B set cut another in white 
With this layer stamp the sentiment on to the top right corner and heat emboss with clear powder.
Then emboss in the brick folder
With the die and some white card cut as many of the shapes as you need. 
Stencil a pattern on to the shapes with sponges and inks while the card is still in the die.
Then ink the edges of each shape once it has been removed. 
I added in another layer with a similar colour to one of the inks I used
Add foam pads to the back of each shape
Have a practise run,  before you remove the backing, to see how you will add them to your card
When you are happy with your chosen design then go ahead and add them to the embossed layer and trim if needed then and add the layers to the base card
That one is for the men in your life
BUT ...
You can definitely pretty it up for the girls too. 
I add the shapes in a different orientation and glued ribbon across the layers before I added them to the base card. 

The colour choices are yours but this one simple die can be used for any occasion and I am sure the boys will love it too 

More tomorrow ...

Hugs xx

September 26, 2017

Tuesday Tutorial - Bella Clair Border

Hi Everybody,

Today we are making a Gatefold Card and it is easy to do using one of the new dies from Spellbinders designer Becca Feeken. 
This die comes in three parts with two cutting edges and the patterned panel for the border.
The links will be at the bottom of the post for you to see my supplies
Spellbinders Supplies:
  • Bella Clair Border
  • Francesca Label
  • Platinum Die Cutting Machine
Other Supplies:
  • Pink Pearls
  • Flowers from Wild Orchid Crafts
  • Glitter from Glitter Magic
  • Thin pink ribbon
Instructions:
With the colour of your choice take a 20cms piece and measure in 5cms from each side, score and fold towards the centre. Don't worry about the length at present as we will trim it to the required size later
Place the patterned die and the curved cutting piece on the outside edge and cut
Tape in place so the the dies can't cross as you cut.
Move the dies to the other side and making sure that they are level cut these also
Trim the card as need to remove the surplus pieces and make it the length of the die
With the card flat add a line of pearls along each of the front panels as shown
I also added flowers to mine
Stamp the sentiment of your choice and with the Francesca labels die #3 cut it out.
Use the same die and trace around the outside edge onto some pink card  and cut it out.
This will give you a Faux Nestie that is slightly bigger then the sentiment label
(If you need a more detailed explanation please visit Faux Nesties )
Line the back of the card with some pretty paper and add the sentiment with foam pads
Use a piece of patterned paper to line the inside back of the card
With the largest die cut another piece in white and level the bottom
Score a little way down and add glue to this area
(For other ways to make a card stand please visit Creating a Card Stand )
Glue the small strip to the back of the card making sure that the straight edge is level with the bottom of the card
This will allow the card to stand correctly
Add some matching ribbon and slot it through the holes in the Gatefold edges
You can tie this into a bow or leave it open if you prefer.
The back of the card will look like this and stand unaided and leave to more room to add your signature 

More tomorrow ...

Hugs xx


September 19, 2017

Tuesday tutorial - Boo to You !!

Hi Everybody,

Ghosties and ghouls are on their way and so I thought I would make a card to go with the season.
This was super quick to make ... just a little inking and die cutting and there you have it.
Spellbinders Supplies:
  • S2-262 Boo Web Holiday Die
  • S4-836 Spider Web Card Front
  • Platinum Die Cutting machine
Other Supplies:
  • Orange Ink
  • Grey Ink
  • Black Ink
  • Versamark
  • WOW sparkle embossing powder
  • Glossy Accents
Instructions:
With the outer die of the Card Front cut the base by folding an A4 card in half and placing the die with one of the short cutting edges off the fold
Cut another layer slightly smaller than the card
With both dies together cut the Spiders Web
Ink over with Black and Grey inks
Dab the Versamark on in random areas and sprinkle with the sparkle embossing powder.
Heat until melted
With the extra layer sponge on orange and black inks in random areas and then spritz with clean water and blot off to leave a mottled effect
Cut the web and BOO! twice in black card and stack together
Add the inked layer to the base card and glue the web on top 
Add the smaller web into one corner and the word Boo! to the centre of the web
Add Glossy Accents to the word and some areas of the web
I used a label maker to produce my Greeting

More tomorrow ...

Hugs xx


September 12, 2017

Tuesday Tutorial - Lunette Arched Borders

Hi Everybody,

Today's card is using another die from Becca Feekens Venice Lace Collection.
 This one is called Lunette Arched Border.   The links are all at the end of the post.
Spellbinders Supplies:
  • 5x7 Matting Basics A
  • 5x7 Matting Basics B
  • Lunette Arched Borders
  • Shapeabilities Sentiments
  • Platinum Die Cutting Machine
  • Blistered Embossing Folder
Other Supplies:
  • Flowers from Wild Orchid Crafts
  • Glitter from glitter Magic
  • Ribbon from Mei Flower
  • Card from Papermill Direct
Instructions:
With the largest die from Matting Basics A cut two panels in white and create the base card
With the largest die from Matting Basics B cut another in turquoise
Use the 5x7 Blistered Embossing Folder to add texture to the card
With one of the patterned dies and the outer cutting edge from the Lunette Arched Borders cut three panels in various shades of turquoise moving the dies up each piece as you go.
Layer them all together and wrap with ribbon around the top
Add them to the embossed layer
You can have these arches facing upwards or down the choice is yours
I added mine to face upwards
The flower selection is from the left ...
Roses, Carnations, Anemone, Tulips added with hot glue gun.
Dot with glue once added to the card and sprinkle with glitter
Add in the bow as you like.

More tomorrow ...

Hugs xx