Beautiful Card Designs Made Easy

Showing posts with label Video Tutorials.. Show all posts

March 18, 2021

Decorative Words Happy Birthday

Hi Everybody.

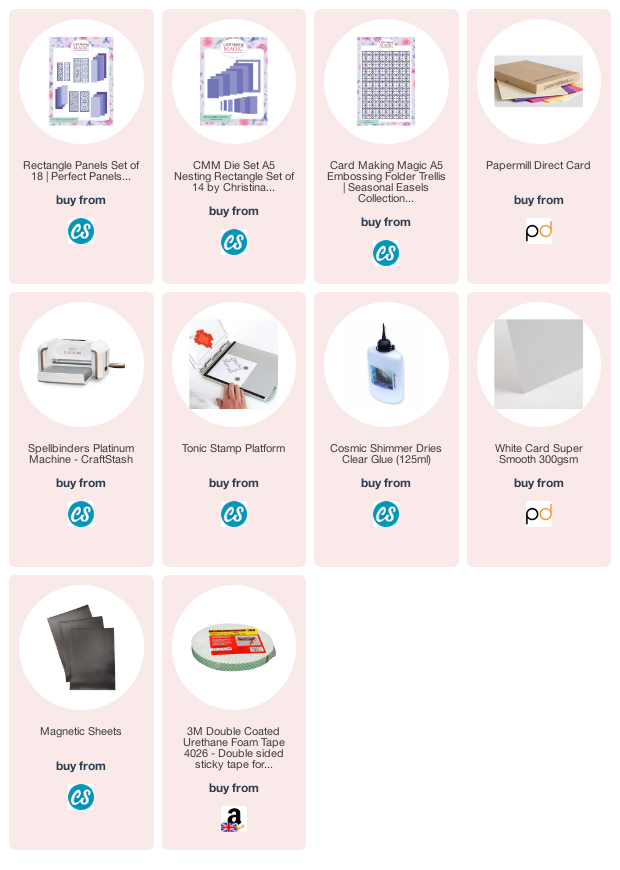
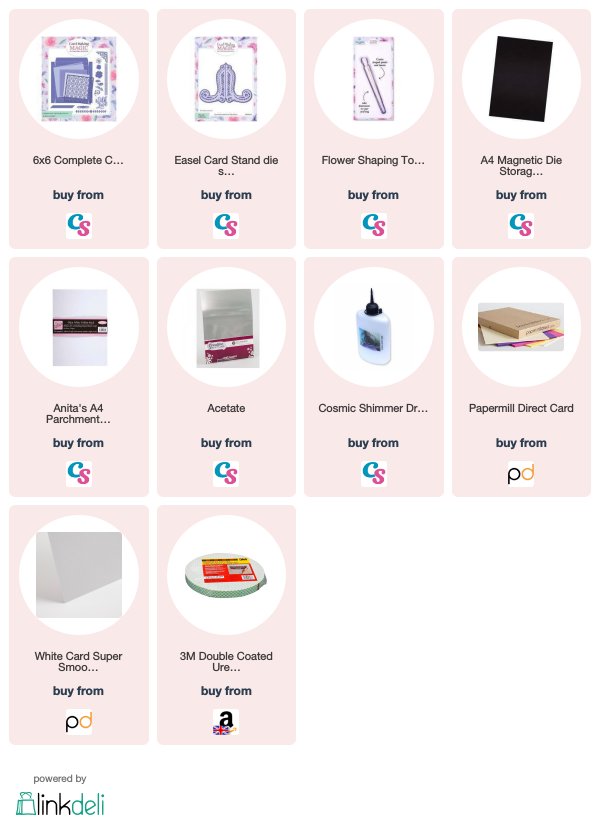
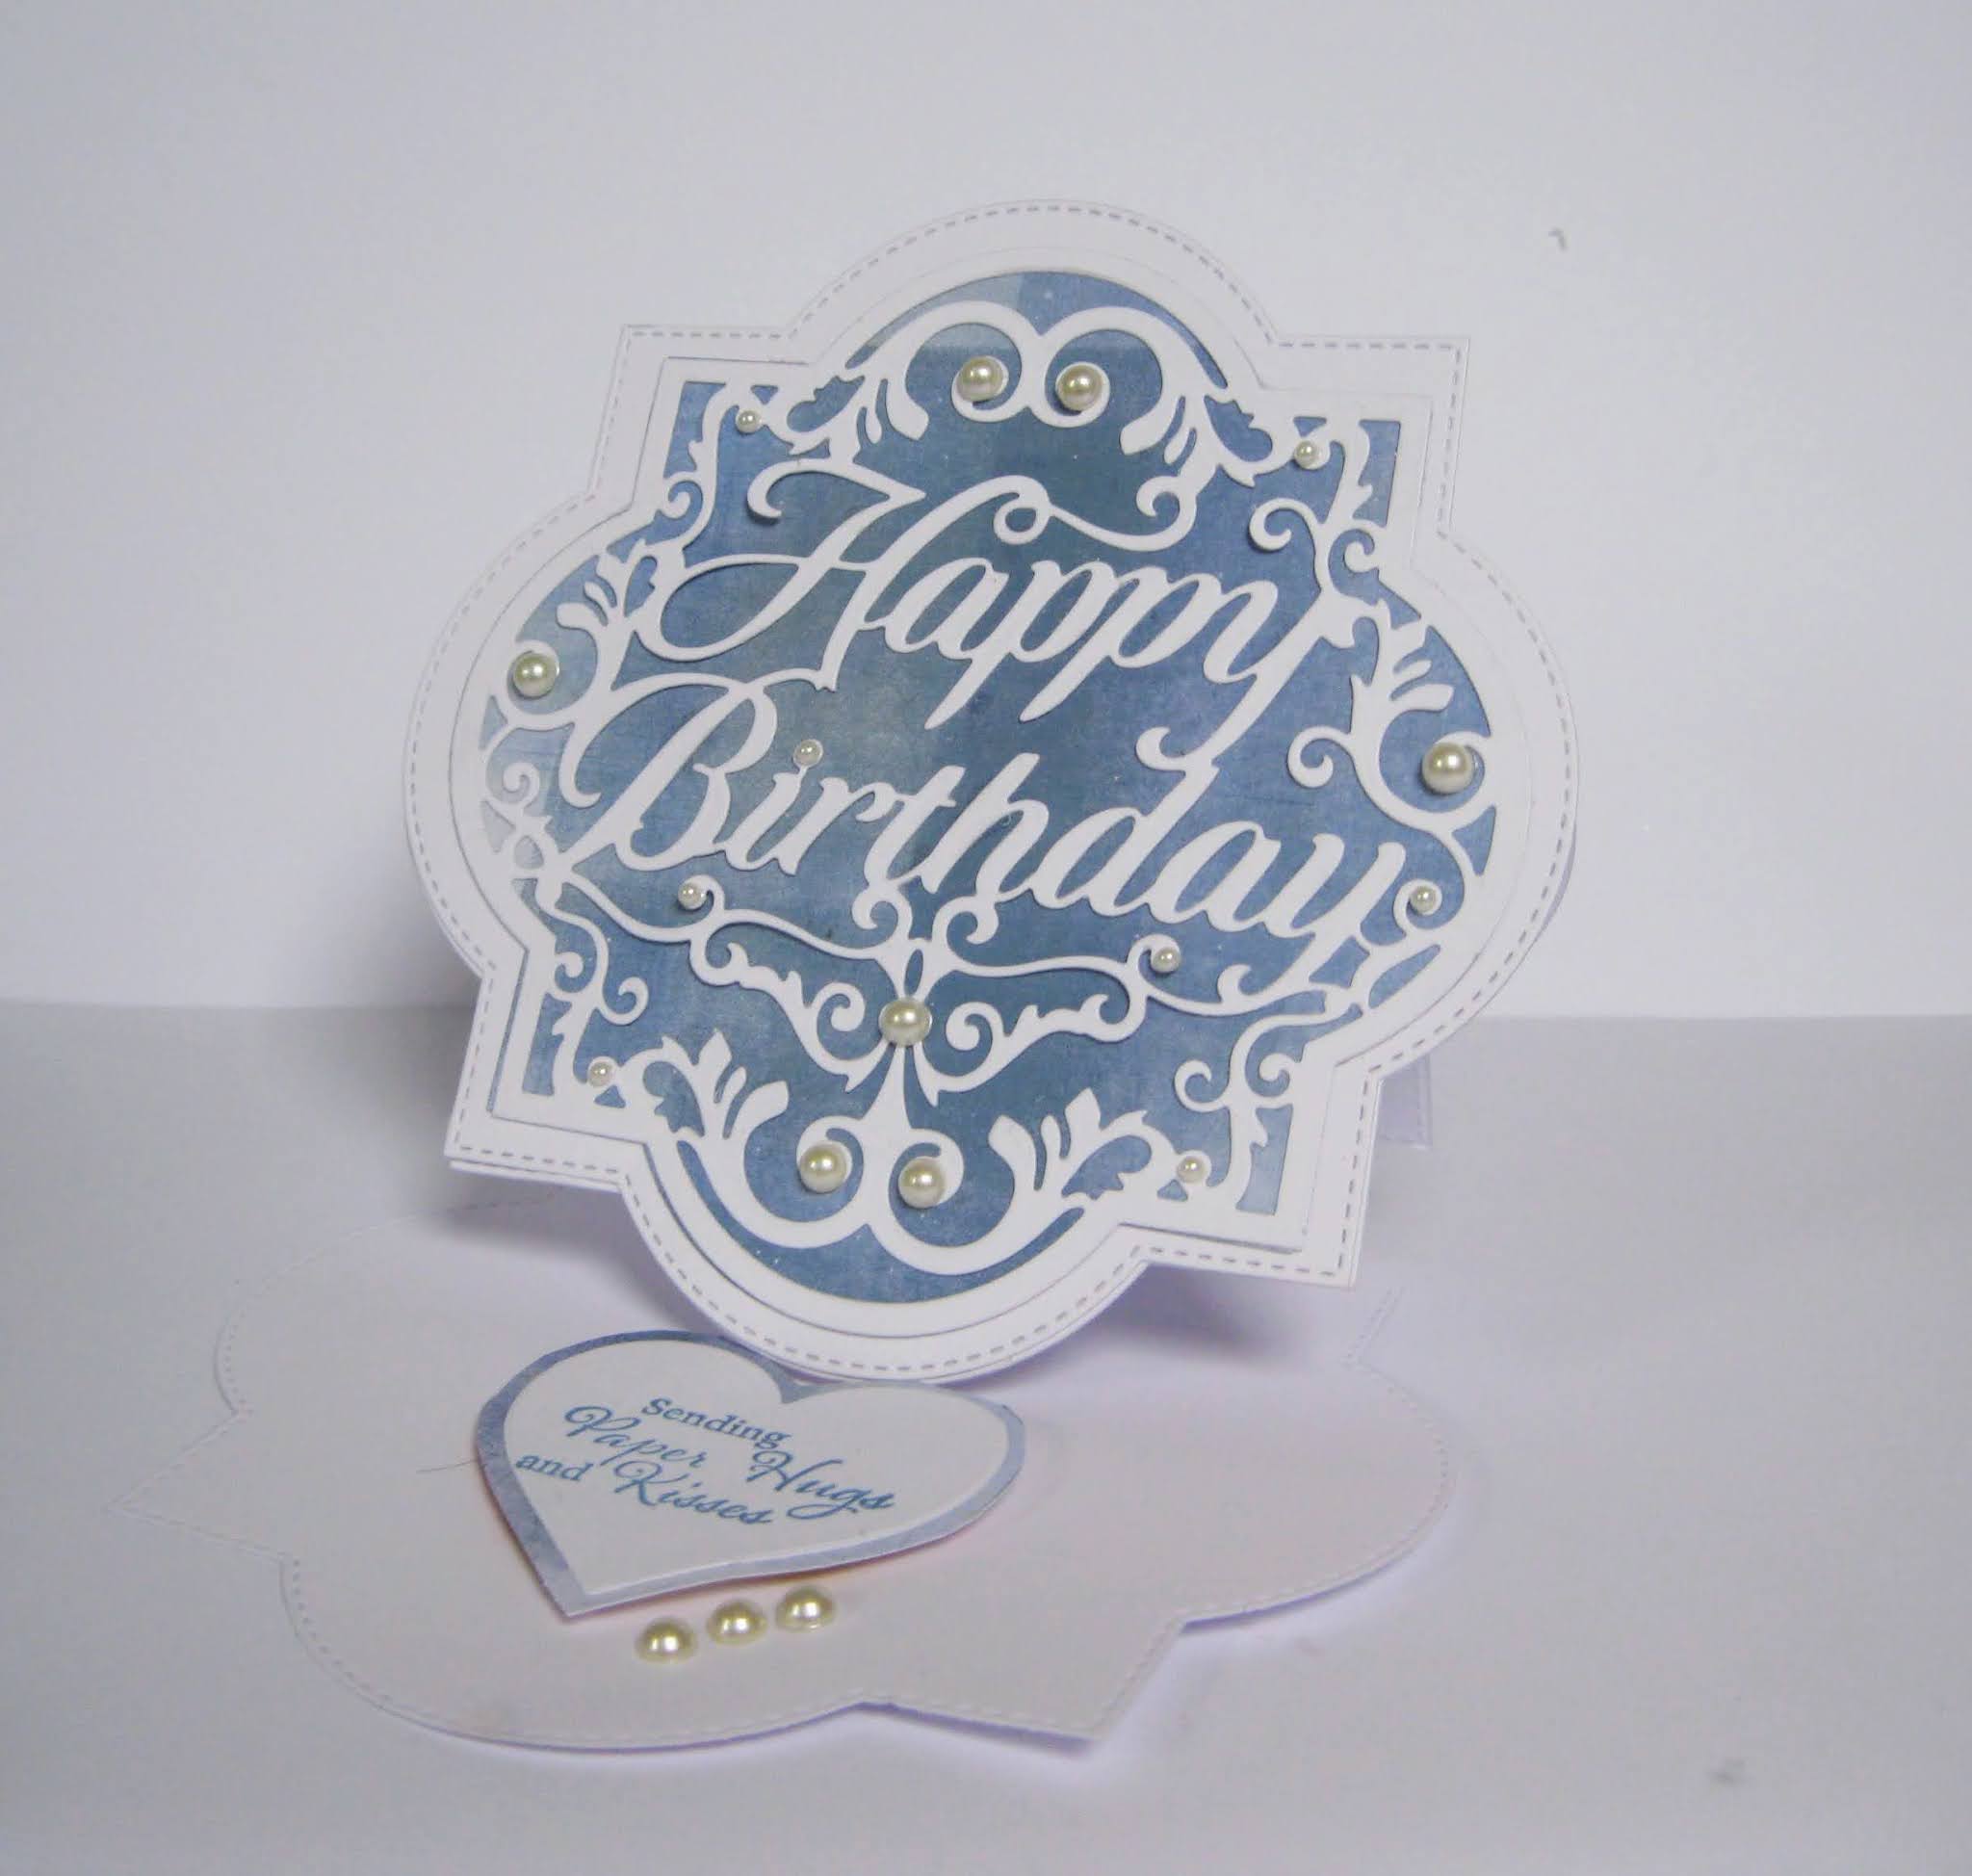
This pretty Easel Card is created with the Happy Birthday Decorative Word die and all my collections are available at Craft Stash

The video shows you this easel card and I am sure that this is a style that many of you have tried and enjoyed.

If you are new to cardmaking then maybe this video can help you to see how they are made so that you can go on and try many more in your own developing style

It is never my intention to belittle anybody and yet someone on YouTube accused me of making her feel like a five year old back at school.

If I have ever made anybody feel that way I apologise profusely, that is not what my videos are about.
I deleted the negative comment from my channel as I didn't think it was justified.


As always I hope that the majority of my readers enjoy my videos and I shall continue to make them for as long as I am able to.
 And I am forever grateful to the lovely comments that I get here on my blog, on YouTube, on Facebook and also on my website 

More tomorrow ...

Hugs xx

February 25, 2021

Sneaky Peak ....

Hi Everybody

I have just added a new video to YouTube but one of the dies is a secret so don't tell anybody. It's the large Heartfelt Thanks die and its not even for sale yet.

But this one and several other sentiment are on their way so please be patient and they will be with you soon.

The video will show you how I created this Gatefold Card  and it's not a long film, but I hope you enjoy it just the same. 

As soon as the dies become available I will let you know and add the links to show you what there is.

All the new dies are quite big and they will fit the tops to your boxes beautifully, as well as make statement points for your cards.

More tomorrow ...

Hugs xx

April 12, 2019

Friday Freebie - Driving Home for Christmas

Hi Everybody,

Staying with the  Christmas theme from last week I have another lovely gift for you this week and this one is stamps, dies and an embossing folder.

The video for this can be found here  ... 
and there are more ideas on the film

If this is a gift that you would like then all you need to do is leave me a comment at the end of the post with your FULL NAME please

From those comments one name will be chosen as the winner and notified in tomorrows blog post.  So if you add your name then be sure to come back tomorrow  to see if your name is shown

More tomorrow ...

Hugs xx

February 05, 2019

Blue & White Shaker Card

Hi Everybody,

Here is another video for you to view this week using the same 6x6 Card and Box die set as yesterday

This is a shaker card and if you are new to card making then please don't be intimidated as they are really easy to create

I will show you step by step how I made this one and then you can ad your own artistic flare to it and make beautiful designs

I have used only elements from the die set and a few sequins from my stash and I am more than happy with the result.


The little Easel card Stand just adds that little bit extra for your recipient to display it on their mantle shelf for everybody to see the wonderful card that you made especially for them

More tomorrow ...

Hugs xx 

October 17, 2018

Papercraft Essentials 166 - Winter Wonderland

Hi Everybody,

Using the exclusive gift with this months Papercraft Essentials I have created this Shaker card.

I used Vellum for the window instead of the usual Acetate to give a frosty appearance and the sequins I filled it with are white and silver

The background is Letter-Pressed and in the video I show you how I did this with clear powder to give a Tone on Tone look

The magazine will be on sale on the 18th October, so keep a look out if you would like this gift to help you make some of your cards this Christmas

More tomorrow ...

Hugs xx

October 11, 2018

Card Making Magic - Christmas Poinsettia

Hi Everybody,

Today's card is on the Christmas theme and it's not that far away now.  The card shown is much better in the hand and would need to go into a box because of the depth to the flowers.

I decided to film it and let you see the process I went through to create it and in particular how to get the thin border around the centre piece.

For this I used the Fancy Nesting Circles  and all my collection is available only at Craft Stash

I am being asked a lot about the tape that I am using at present and it is from Amazon.
It is Scotch 3M Double Coated Urethane and although it is very good and lasts me quite a long time it is not cheap. 

Shop around and if you find it cheaper please let me know too ...

More tomorrow 

Hugs xx

May 27, 2018

Crafti Potential Words - Wishes

Hi Everybody,

I wanted to share with you some of the new dies from Crafti Potential and the ways in which you can use it.

There are 12 different words and lots of additional sentiments in each set for you to personalise your own designs.


Each word is big enough to make a statement on your cards  and yet the letters are separate.

 But because you are adding them to a backing piece there can be no mistake about where each one goes.

I love to use large words as my focal point and I add them to a Vellum back for a cool effect.

More tomorrow ...

Hugs xx

April 03, 2018

White Vellum Flowers ...

Hi Everybody,

Today's  card is a little more muted then usual as I have kept to more neutral colours with Neenah Desert Storm card stock

It still has lots of texture in it and is still a very pretty card for any occasion.

The vellum flowers are delicate and I have kept them white to enhance the card.


It is very easy to make and so I hope you will enjoy the video and then try them for your self

More tomorrow ...

Hugs xx

March 29, 2018

Tonic Craft Kit 08 - Making a card with the Trinket Box Kit

Hi Everybody,

Today I am showing you my project for the Tonic Craft Kit 08 and I know that it is late this month.

These kits sell out very quickly as they are such good quality so to be sure that you get you then consider a subscription.

This kit is called Trinket Box but I have used it to make a card instead. This is just to show you the versatility of the die set

I used the papers in the kit to make my card and they are really pretty with deep texture.
The links for a subscription are ...


More tomorrow ...

Hugs xx

March 27, 2018

Messy Water Colouring

Hi Everybody,

Today's card is so lovely and yet easy to do and you don't need any painting skills to achieve it.

And because the dies are going to cut out the flowers you don't even need to stay within the lines.

This is pink and yellow and the two mix for a lovely peach shade

Let the video show you how to create this card and experiment with the colour blends that you like 


There is nothing neat and tidy about this and yet it looks really pretty and I am sure that you will be so pleased with yourself once you have tried it.

The colours in the video are blue and lilac and I love that combination especially with the green.
The addition of the sequins is the finishing touch and they are a lucky and very inexpensive find on Amazon.

I have used the dies and stamps from my very own "Christina Collection" that is available with Craft Stash

More tomorrow ...

Hugs xx


January 18, 2018

Silver Embossed Wedding Card

Hi Everybody,

This very special wedding card is created with items from the Christina Collection 

I made the box to match it. 

 I used Versamark to Letterpress and I know that this is a new technique to some of you.

But it is quite easy to do and so I hope the video gives you a little bit of confidence to give it a try.


I did the same technique with Gold powder and that turned out beautiful also.

Uisng the stencil on the embossing sandwich in your machine will give a very pretty effect.

Not as deep as the embossing folders but just as effective

Both of the ribbons are  from Deco Fun Bowmaker
and they are a lovely quality satin 

I hope you enjoy the short video and will come back to watch more as they are added.

More tomorrow ...

Hugs xx

January 10, 2018

Papercraft Essentials 155 - Fairy Die

Hi Everybody,

This months Papercraft Essentials 155 features this little die from the Signature Collection by Joanna Sheen.

Here I have simply cut it in black as a silhouette and sat her  on the toadstool.

The door to her fairy home is behind  and I have hand drawn the scene around her and coloured it with marker Pens

But whilst I was making another card I made several mistakes.

One was using card to make a stamp for the fairies wings and the other was not using anti static on my card to remove any grease marks.

Another one was pressing too hard on the old mouse mat when I stamped and so making my block touch the card.

Once I had added the silver powder and saw the result I was really disappointed but I just couldn't throw it away without trying to salvage if first.

So I pressed on regardless and the card on the left is the end result

So I thought I would show you the mistake in the video and what I did to rectify the mess. I was really happy at the end and nothing was wasted ... Here's the video


Crafters don't make mistakes ... they have Happy Accidents
(That's my exscuse and I am sticking to it )

More tomorrow ...

Hugs xx

November 01, 2017

Creative Stamping 50 Winter Warmers

Hi Everybody,

Every month this magazine brings you a fabulous A4 stamp set and this month it is Winter Warmers.

Full of wonderful characters for you to bring to life as you like and colour in your choice of medium

I used Spectrum Noir Pencils for mine and I was happy with the result as it is an easy way to colour

They are not just for Christmas either. This one would make a really good "Welcome to Your New Home" card

Add in a suitable sentiment and it could be for any occasion

The video Creative Stamping 50 Winter Warmers  will give you some more ideas that you may like to try


I hope you enjoy playing with this stamp set and if you wanted to subscribe to be sure of never missing your copy then pop over to Moremags.com

More tomorrow ...

Hugs xx

June 28, 2016

Tuesday Tutorial - Matting Basics

Hi Everybody,

The main feature of todays card is layers and frames and to show you how easy it is to get the double frame around the sentiment.  You could add in any flourish die that you have to surround your flowers to make a really pretty display
Spellbinders Supplies:
Other Supplies:


With die #7 from Matting Basics A cut two from Kraft card and Create a Hinged Card
With #7 from the Matting Basics B cut one layer in cream
Flat glue this to the base card
=========
With #6 from the A set cut another layer in Kraft card
With #6 from the B set cut another layer in cream and emboss with the folder.
Flat glue these two together and then wrap with lace or ribbon
Add foam tape to the back of these and add to the base layers
(Please remember that die #1 is always the smallest)
From Matting Basics A take dies #1 and 2 and 3 and lay them all together on some Kraft card and tape in place and just EMBOSS ... this is an important step
Once embossed carefully remove the centre die, without disturbing the others, and now you can CUT
This will give you the impression that the frame is double layered.
Add foam pads to the back of the frame
Stamp and heat emboss the sentiment of your choice and cut it out with die #3
Add the frame to the top and press down
Add more foam pads to the back of this panel
Layer  the sentiment panel to the front of the card off setting it as you do. 
Arrange the flourish, flowers, pearls and the dove as you would like them 
Sprinkle the petals with some glitter for effect

More tomorrow ...

Hugs xx


September 14, 2015

Creating A Background ...

Hi Everybody,

When I used this background I had several emails asking me to show you how I did it.

So this has been the subject of another video tutorial that we did last week.

This uses Distress Inks and is very easy to do.

The card on the right is very bright, but in the video I did one in more autumnal colours and it would be ideal for any cards that you make for the men in your life.

I listed all the inks I used and showed you in which combination for the different looks in the tutorial Distress Ink Background

I dressed my card up with flowers from Wild Orchid Crafts  but this tortoiseshell look would be suitable for anybody.

The die I have used is #2 from Fleur de Elegance  and I cut it in an antique gold card

I found the gold sequins in a box that was lurking in a cupboard  when I was clearing out my craft room a few weeks ago ... and I knew they would come in handy !!

More tomorrow ...

Hugs xx

July 18, 2014

Friday Freebie 018

Hi Everybody,

Todays cards is in a lovely shade of teal and white and I have used the Tied Together embossing folder along the bottom.

On each of the cross sections I have added a flat backed Pearls from Want2Scrap in a matching shade

The verse is from the Sentimentals Range from Crafters Companion.  and there are lots on the stamp sheet for you to use.

They are unmounted stamps but if you are new to this type of stamp then there is a video tutorial to help you ...  Mounting Your Stamps  

Clicking the links to all the pink words   will take you to a new window and the relevant  pages

There is a little organza butterfly on the left and the inside is lined and the flowers are from Wild Orchid Crafts 

They have been sparkled with the  Glitter Magic  mix called Chameleon

If you would like to win this 5 x 7 card then all you have to do is leave me a comment at the end of the post and a name will be drawn at random and the winner announced in the morning.

If you enter to win then please come back and see if you are the winner and you will have 48 hours to claim the card

Further information about Scrapberrys .... they forgot to give me the correct  link and have apologised for those who tried to find out prices.

I know have the link to their Facebook page and you can see samples of  cards that have been made with their products and it is there that you can ask any questions that you like ... here it is ... Scrapberrys  I have also amended the original post with this new link

More tomorrow ...

Hugs xx


August 26, 2013

A Requested Video ...

Hi Everybody,

When I added the tutorial for Adding Flowers to Cards I had many emails asking me about the centre panel made with the Quatrefoil Pattern die.

The link above is to the UK supplier and if you are in USA then this link will take you to your supplier

So another video has been filmed and it is now there for you to see ... so get your cuppa and settle down to watch and I know you are going to love this card.

 Creating a frame with Spellbinders    shows how the featured card is made and takes you step by step through  the whole process.

The blue card used in the making of this card is Centura Pearl from Crafters Companiuon

This photos hows you the depth involved in the card .... but please be aware that it takes a lot of matching card to get the layers.

It also needs patience to cut all the layers but once you have finished it is so well worth effort.

As I say to you on the video ...  be aware of all this extra  work and the material you are using when you are pricing your cards to sell.

You are going to need to replace your stocks and YOUR time needs to be paid for too

Another request I have had is to include more videos for those who don't have Spellbinders.

So later today ... once my "Film Crew" has watched his Formula 1 ...  I am going to create the same card again and not a Spellbinder will be used throughout. I will add the video for that later in the week.

If you still haven't entered the "Give Away" the link is still here .... August Give Away   ... it's open until Saturday

More tomorrow ...

Hugsxx


August 06, 2012

Spider conspiracy ...

I am sure that the spiders in my house are conspiring against me and getting me into trouble.

I think they  wait until my  youngest  daughter comes to visit  and then word gets around  them  all    quickly ...."Vickie is here ... quick get busy..."

Then while we have a chat and a brew they set about making their spiders web,   and in a fairly obvious place,  so that when she visits the  bathroom she couldn't possibly miss it.

Then I hear "Oh Mother ...." in a disdainful voice  "Come and see this"  and I think  "Uh Uuuuh! I don't want too" ... and there it is a ...  huge cobweb hanging from my light fitting  ... as if it has been there for years.

And when I say that it wasn't there yesterday she says "Yeah! yeah!" and we erupt into giggles.

This card is one that I showed,  just as an example,  on the video   Spellbinder Bargains   and it has created some interest in how it was done.

Several people have emailed me asking for the instructions ... in a video ... and so I will get to work on it shortly.

And in case you  missed the link  to some  really good Spellbinder  bargains here it is again ...Save On Hobbies ...   click the  link that takes you  through  to their shop  and have a look for what you  would like to use.

But remember that they are  dies that will no longer be made so grab them quick.

The red roses  around the  door frame are from  Wild Orchid Crafts  with a little pearly  brad for the door knob.

Hugs xx

May 30, 2012

Messy but fun ...

This tutorial was one I added to the Card Making Magic website a few years ago and it is very messy ... but the effect is different from any thing else.

The   Crushed Flower Tutorial   got many comments.

One lady wrote to say that it took her a long time to realise that I was actually using real flowers and leaves. 

You will need a die cutting machine to roll the flowers through, and  pick your flowers when they are just going off.


The flowers for both of these cards are from a beautiful pink Hydrangea that is in my garden and the leaves from my Virginia Creeper.

But the result at the other end is nothing like the original flowers that I used.

I have Watercoloured the flowers with a Big 'N Juicy ink pad.

These inks have several different colours in the one  pad and I have  used a different area of the pad each time to create the shading and defintion to each flower.

I have sprinkled Glamour Dust on the petals and added  small pearls to the flowers centres.

The photos don't really show you just how pretty this effect is but you will be very surprised with what you get if you give it a try.

Don't be surprised though when a pink flower produces a completely different colour at the other end ...it's all part of the fun.

Hugs xx


May 14, 2012

Pierced Edges

Another easy to do technique that just adds a little bit more to the finished card and I have made    Pierced Edges  into a video for those new to cardmaking.

I have included Spellbinders in the video title because it uses the same set of dies that I introduced in Starting Your Spellbinder Collection

And as many of you have written to tell me that you went out and purchased these dies  we need to make sure that we get as much use from them as we can.


I also like to find ways to add that extra bit to the cards I make. 

So this is piercing and it really adds an extra dimension to any of our projects.

The "Bling" as always is from  Want2Scrap  and it adds a  luxury look to any card. 

It comes in many different colours and finishes and some of the styles match and compliment the Spellbinder shapes

Although I have kept to a monochromatic colour scheme nothing is lost for the lack of colour.
If you haven't got your corners tidy then you can always add in a pearl or flower to disguise the mistake but I think this makes for a very pretty card and I hope you do too ...

Hugs xx