Beautiful Card Designs Made Easy

April 20, 2015

Forever ....

Hi Everybody,

I really like this card and it is a 6x8" created in silver and white

The background is another one that is embossed only with Grate Effect 

I covered the technique in a video tutorial  last month

You will find that one and several more in the Tuesday Tutorials in the side bar to your right

The beautiful flower corsage is a mixture of Gypsophilia, Cherry Blossoms and Roses

But the large grey one is from a bracelet that I bought in Primark and cut up.

The diamante is from Want2Scrap and I have added it to some ribbon.  I have used tear drop diamante around the flowers for added luxury.

The    Forever Sentiment   is from the Celebrations Collection by Spellbinders and is one of three words.  I have cut the word five times from silver card and glued them all together.

It gives a raised and thick effect to any words and is a really pretty way to add them ... try it for your self and tell me what you think

The little Dove is from Wild Orchid Crafts  and is a really simple but effective addition

More tomorrow ...

Hugs xx

April 19, 2015

Special Card

Hi Everybody,

This is a special card I was asked to make and it is going all the way to a convent in Rome

I spent a lot of time thinking about this and planning my design around The Lords Prayer

I had several things that I was asked to incorporate but I didn't want it looking too fussy

I am very happy with the result and I hope that the lady it is intended for is happy with it too.

I have used Cream and white for the card and box and added in beautiful flowers.  The flowers, lace and the doves are  all from   Wild Orchid Crafts

The  Cross  is from a set of five by Spellbinders and I have cut my chosen one  five times and glued the layers together to make it stand proud from the card

The verse is The Lords Prayer and I have  printed it off my computer then cut it out with   Labels Eight

It has then been added with foam tape to   Decorative Labels Eight   and surrounded with the flowers

The box is made to match and I have used Acetate to produce the window.  The card inside is covered with tissue paper to keep it clean

More tomorrow ...

Hugs xx

April 18, 2015

Todays Winner ...

Hi Everybody,

First I would like to say "Thank You" to all of you who add your names to my Friday Freebie list to win one of my cards.   It is very humbling to know that so many of you would like one. And those who have own one and then written to say how much you like the one you have.

So once again the draw has been done by my "Film Crew" to choose the winner for this weeks pale blue card.  The name chosen is you ...

Lyn Nash
can you email me please 
christina@card-making-magic.com
with your postal address and the card will be on it's way to you

A Little Story ...

Made For Me
This card is not on offer as a freebie because it is one that was  Made For Me by a lady called Margaret.

I met Margaret at the GNPE craft show in Harrogate

Margaret told me that the previous year she had walked all around looking at the stall holders because she knew I was there and she thought I would have a stall.

Eventually she realised that I didn't and so this year she wandered around looking at the visitors and was delighted when she found me.  It was a lovely moment and I was so happy to meet her and several other ladies who recognised me

Margaret made the card and put a lovely note inside it to thank me for the things she has learned from the blog and my website.  She also told me that after she had spotted me she went round again and this time she bought things she needed 

Can I just say that it is my pleasure to share and you are all so very welcome ... you ALL simply make my day.

And one last note I will be on Create and Craft next Saturday at 4 pm and Sunday at 12 noon so I hope you will come and join me then

More tomorrow ...

Hugs xx

April 17, 2015

Friday Freebie 055

Hi Everybody,

The card on offer today is in a lovely shade of blue and white

For this I have used the Spellbinders Victorian Collection and this die is the Mary Border Strip

It is a die in two parts and is a useful addition to your collection.

The flowers are from Wild Orchid Crafts and the small pearls in baby blue are from Want2Scrap

If this is a card that you would like to win then all you have to do is become a regular follower and then leave me a comment at the end of the post

A name will be drawn and the winner announced in tomorrows blog post so please come back to check if your name is there.

More tomorrow ...

Hugs xx

April 16, 2015

Weave Effect ...

Hi Everybody,

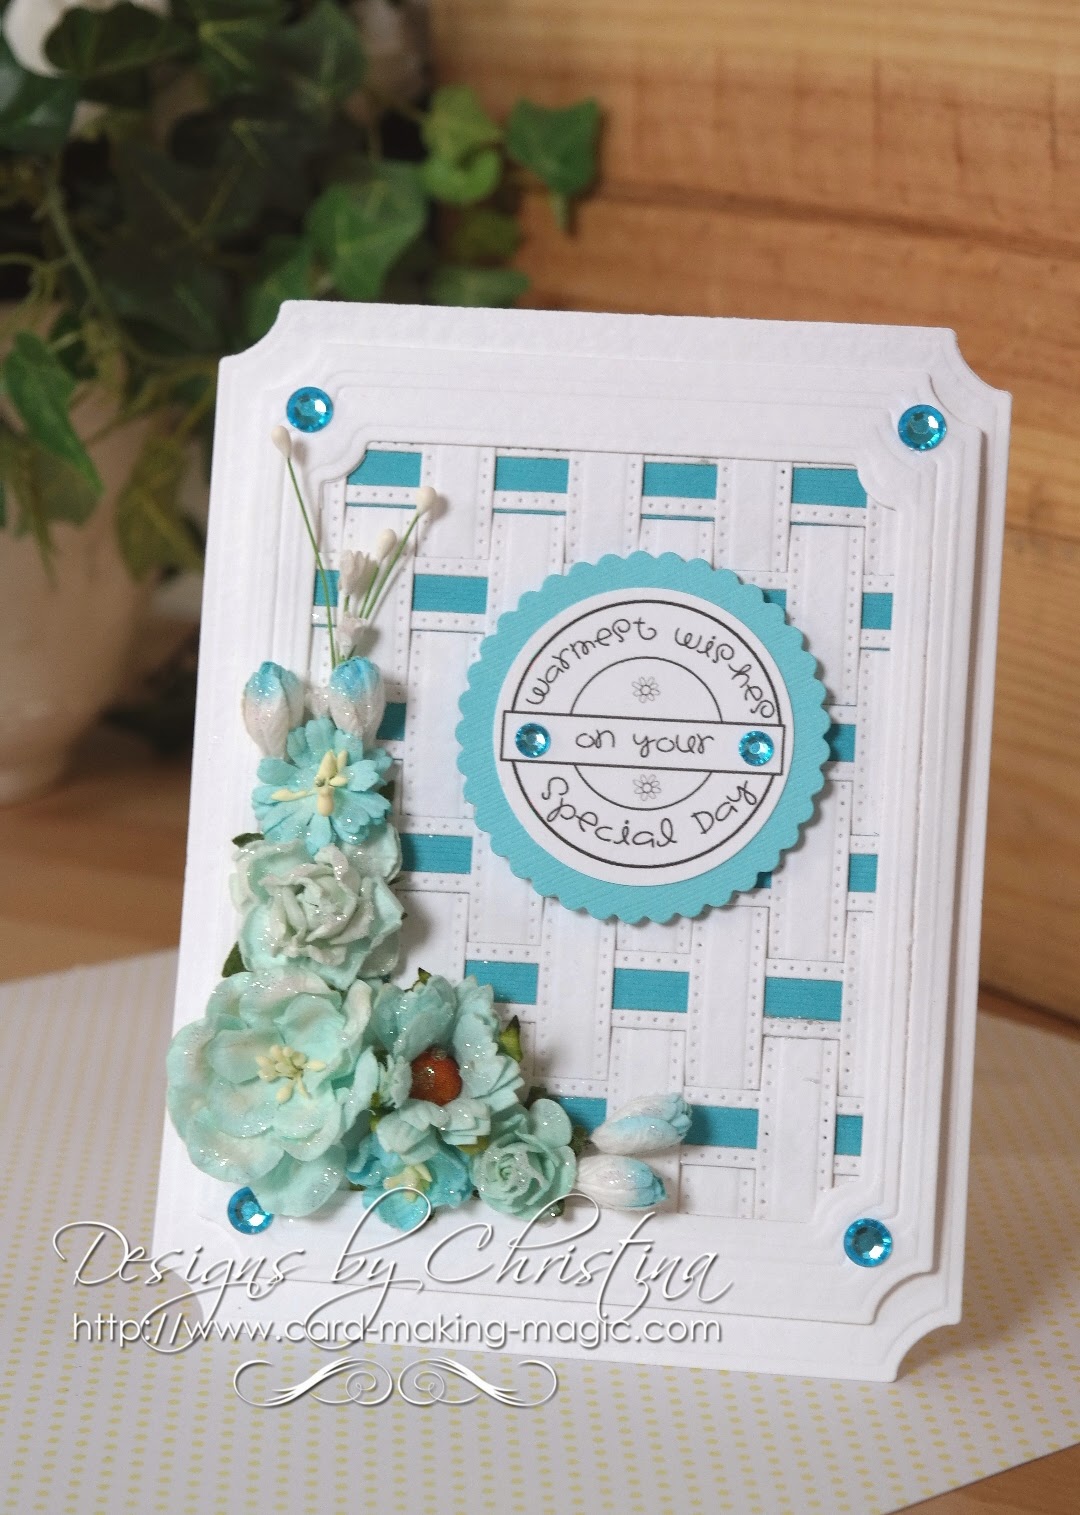
This pretty design is using both of the new Weaving dies from Sue Wilson and they give a really unusual effect to your cards

The titles of them are  Weaving Dies Classic  and Weaving Dies Striped   and both are available from Joanna Sheen

They can be used separately or together and the look will be different each time

For this card I have used both together to create the pink and white weaves  and then added a large rose from Spellbinders   Crafty Flower Four

The vine behind the flower is  Foliage Flourish  and the sentiment is  Sentiments Three 

The base card is created from Grand Large Labels but this has been retired from Spellbinders website.

How ever you may still be able to find retired dies if you visit other companies that deal with "Close Out"  dies.

Have a browse around  Save On Hobbies  and the price will be reduced too but once they are gone there will not be any more

The turquoise card has used both dies again but I have added in the color just once and it gives another look to the design

The flowers are from  Wild Orchid Crafts  and I have added diamante into each corner from   Want2Scrap

The sentiment is from Lili of the Valley  and there are many for all occasions for you to choose from

More tomorrow ...

Hugs xx


April 15, 2015

International Ambassadors Blog Hop ...

Hi Everybody,

It's time for another informal blog hop with the International Ambassadors and this time we are going with the theme of "Spring".  I hope you will join in and pop along to the others as it is a way to get to know each one of us a little more and to see our different styles

We are Linda Lucas from Australia,  Yvonne Van De Grijp from the Netherlands and Christine Emberson and myself from the UK.   I will add the links to their blogs a little later so please leave each of  them a comment to let them know you have been  ... and they will be so pleased if you do.

For my card I have chosen the   Pretty Petals   and used sets A and B

I have cut the flowers from pale pink and white Craft foam and it really is a fun product to play around with and you can use it in many different ways.

The leaves have been handcut from green foam and I have used brads to hold the parts of the flowers together.

I have embossed all the layers to the card with both sides of the Patchwork Embossing Folder

These are the components of my card and the sentiment has been cut from pink foam three times and then layered together

It really is an easy card to make and I think it fits the "Spring" theme beautifully

And now is your chance to visit the other designers and be inspired by their lovely work ...


Christina Griffiths (You are here)
Linda Lucas 
Yvonne van de Grijp  
Christine Emberson

I hope you enjoy your visit to the others and will pop back regularly to see what we are all doing.

More tomorrow ...

Hugs xx


April 14, 2015

Tuesday Tutorial - Swirl Bliss

Hi Everybody,

This is a die set called Swirl Bliss that has been designed for Spellbinders by Becca Feeken and it is such a pretty set to work with.  There are lots of things that you can do with it and this is just one simple idea that you may like to try.


Spellbinders Supplies:

Create a six inch square base card from cream and cut a  slightly smaller mat in gold.

Cut another still slightly smaller mat in cream and emboss this layer.

Glue the embossed cream and gold layers together

From the outside edge of the rectangle die cut three solid shapes in gold

Add the filigree die to the solid die and cut together three shapes from cream 

Layer these together to make the lacy panels and add foam tape to the back

 With the sentiment die press it face down into some Versamark and then cut and emboss it

Then sprinkle it with some gold embossing powder and heat emboss
Add the panels equally spaced to the layers you created

The foam tape will raise them up from the base

Wrap some ribbon around them all before adding to your base 

Add the sentiment with foam pads and add in a matching bow.

Use a sparkly centre for the bow to hide the knot.

More tomorrow ...

Hugs xx

April 13, 2015

My Ladies Cards...

Hi Everybody,

The picture does not do these cards the justice they deserve

Both are from my two ladies in the Card Class last week and in the class we used Acetate to create the front of the cards

I like to try something different each week and it seems to work for all of us.

This week Mary has gone for the more subdued option and Brenda has chosen the lovely blue for hers.

There is a Video Tutorial to show you how the card is made and it is not long ... Acetate Front Card Tutorial   It will take you through the steps we did and there are only slight differences even though the video was made a few years ago

On these cards we have used Wild Orchid Crafts  flowers  and some swirly diamante flourishes from Want2Scrap and both ladies went away happy with their makes

More tomorrow ...

Hugs xx


April 12, 2015

Made for me ...

Hi Everybody,

This beautiful card was made especially for my by Paula Di Giovanni and sent to me all the way from Florida

Paula and I have never met but she is an avid reader of my blog and often leaves me lovely comments

She has also been one of my Friday Freebies winners

Paulas'  card is much prettier in the hand than the picture shows and I will add it to my "Keepsake" with the other cards that I have had.

I have had lots of cards from you ladies out there and each one is treasured.  But please have faith in your own abilities because most of the cards I have had have all said more or less the same thing and that is the lack of confidence you have in yourselves.

Each card I have received is beautiful and I thank you from the bottom of my heart for taking the time to make and send them to me, and I am happy to show them to the world

More tomorrow ...

Hugs xx


April 11, 2015

Card Winner ...

Hi Everybody,

Up bright and early this morning and lots to do.  Some of you will be going to Alexander Palace his weekend to the big craft show that is on and I so envy you .... wish I was going too.

I hope you all have a good time and manage to buy all the goodies that you want.  And even though the weather has turned a little cold again you will still be warm and dry as you browse around all those wonderful stalls.

So the draw fro yesterdays lovely pink card has been done and this one is coming to live with you ....

Margaret Wilson
I need you to email me ...
christina@card-making-magic.com
with your postal address and I will get the card in the post to you straight away.

I hope that you will like it and please let me know when it arrives with you

More tomorrow ...

Hugs xx

April 10, 2015

Friday Freebie 054

Hi Everybody,

Todays card is in a lovely shade of pink with a glittered panel on the front

The flowers are from Wild Orchid Crafts and are a mixture of roses Cherry Blossom Lilies and buds

Into the mix I have added some pearl sprays and there is a video tutorial to show you how I made them

Creating A Pearl Spray  features this very card and it can be yours if you leave me a comment

A name will be chosen at random and the winner announced in tomorrows blog post.

It doesn't matter where you live I am happy to send the card anywhere ... but you will need to come back and check if you are the winner

More tomorrow ...

Hugs xx

April 09, 2015

Printable Acetate ...

Hi Everybody,

This little card was created by using a digital image on printable Acetate and coloring with alcohol marker pens

The image is from  Polkadoodles  CD  Pretty Sweet and there are some lovely images on there either ready colored or for you to color your self

The printable Acetate is from  Crafters Companion   and the image is printed on to the rough side

I have colored mine with Spectrum Noir and then cut the shape out with Modern Stationery   from Spellbinders to create a frame around the flower

The   Sentiment  Five     has been cut and glued in place over the acetate

I have multi looped the ribbon around the card and the bows centre is from Wild Orchid Crafts 

The little tear drop pearls are from Want2Scrap  and come in two different sizes

More tomorrow ...

Hugs xx

April 08, 2015

Back to pink ...

Hi Everybody,

Todays card is back to pink with a lovely inspirational verse in the centre from   Lili of the Valley 

I have used the beautiful   Fleur de Elegance  from Spellbinders which will give you some large ovals to add to your designs.

I have used dies #2 and #3 and then topped them with my sentiment stamped onto #2 from Elegant Ovals

All these layers are added with foam tape and pearls used to accentuate the shapes

The ribbon is from Mei Flower  and is tied in a double bow and is the only embellishment that I have used for this card

The bows centre piece is from Wild Orchid Crafts

A very pretty card that could be for any occasion

More tomorrow ...

Hugs xx

April 07, 2015

Tuesday Tutorial - Majestic Labels Twenty-Five

Hi Everybody,

I like to buy the matching pieces to the die sets to make them go further and give me my monies worth. and this set is so pretty and can be used in lots of ways.

For this card we are going to create lots of layers and a frame for hold the centre piece. I have used white and purple Centura Pearl for my design  ... and there are two other video tutorials within this written one ... just click the links to view


Spellbinders Supplies:

5x7 Matting Basics A
Majestic Labels Twenty Five 
Labels Twenty Five
Labels Eleven

 Cut two pieces in white from 5x7 Matting Basics A  #7  (#1 is always the smallest die)

Create a Hinged card for the base  (Video Tutorial)

From the same die cut two more pieces one in white and the other in your chosen color

On the purple card I have carefully positioned  #6 from Majestic Labels Twenty Five and cut and embossed it.

The picture shows what you the result

Place this panel over the white one so that the edges marry up and with a pencil lightly trace around the #5 from Labels Twenty Five

Remove the purple panel and cut the white one with the #5 die taped in place aligning with your pencil lines


Once cut you should then have a solid white piece and the filigree pattern to go on the top to create your frame and it will look like the picture

Trim if needed, glue both pieces together and then add foam pads to the back of the frame.


From #6 Labels Twenty Five cut a colored layer

With the white panel from the step above place #5 from Majestic Labels Twenty Five and tape in place then cut and emboss

Layer these two together with foam pads and for mine I have used a double layer  (one on top of the other) ... to raise it above the framework

From #4 Majestic Labels Twenty Five cut one colored layer

From #4  #3 and #2 together cut the filigree pattern in white

Glue these two together and add foam pads to the back of them

Stamp and heat emboss the sentiment in silver and with  #4 Labels Eleven cut it out.

With the same die trace around the outside edge and carefully cut it out

This will create a  Faux Nestie  (Video Tutorial) that leaves a small border around the sentiment

Glue these two together and add foam pads to the back of them.


Build up the layers to your card and wrap ribbon around them before you add it to the base card leaving the sentiment last

The foam pads will create shadows and depth and so add interest to your design

I have added in a pretty Hat pin to my card and a white satin double bow

Designers Tip:

Lining the inside of the card to match the front will give a professional look  and it will stand better 

More tomorrow ...

Hugs xx


April 06, 2015

Neutral Colors ...

 Hi Everybody,

For this card I have used only black and cream to give me a really striking effect.

The card I have used is from Anna Griffin and it is such a wonderful quality

The sentiment is the free one from my magazine subscription but it was a couple of months ago and may not now be available

I have use Spellbinders Twisted Metal Tags and this is one on my  favorite tag dies

I have layered it onto Opulent Ovals #6  and added in two of the flourishes from Foliage Flourish to give a lovely swirly effect

The large flowers in the centre is one I made and added in the pearls.

The black pearl flourish around the sentiment and those in the corner of the card are  from Want2Scrap

More tomorrow ...

Hugs xx