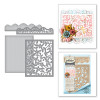
This pretty card is made with a complete card front die and that has to make life more simple when you need a card in a hurry. I have used bright silver mirror card to create the front and that adds the sparkle that I was looking for

Spellbinders Supplies:
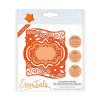
- S6-117 Framed Floral Card Front
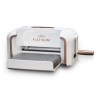
- Platinum Die Cutting Machine
Other Supplies:
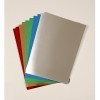
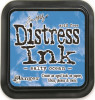
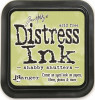
- Distress Inks
- Dries Clear clue
- Foam pads
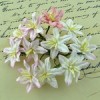
- Flowers from Wild Orchid Crafts
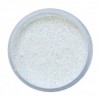
- Glitter from Glitter Magic
Instructions:


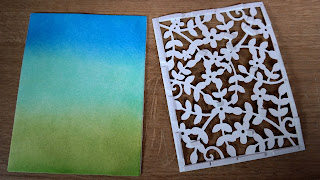


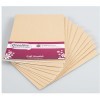
With the outer die of the Framed Floral die cut three pieces of white stamping card and use two to create the base card
With the third piece and the Distress Inks blend all three colours on to the panel.
I have started at the top and used Salty Ocean, Cracked Pistachio and Shabby Shutters
It looks smoother one it is dry

With the Silver mirror card I have cut the two dies together to create two panels ... one for the card front and the other to give me extra leaves to tuck behind my flower

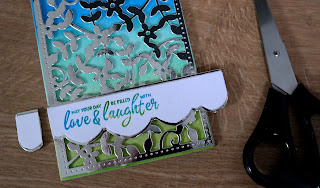
Add small piece of foam to the filigree panel so that they cannot be seen from the front and add to the blended panel

Stamp a sentiment of your choice on to some white card.
( I used two of the inks I had blended earlier to create a two tone effect for my words)
Cut this out with the long solid solid strip.
Then cut another solid strip in the silver and divide this in two.
Arrange around the sentiment strip to leave a small border at the top and bottom

Add this sentiment strip to the filigree panel and trim as needed on each side.
Trimming from the back give a neater finish
Add all this to the base card

Trim some f the leaves from the other piece of mirror card and choose a flower to blend with your colour scheme

Arrange the leaves around your flower and dot the flower with glue and sprinkle with glitter
Dot each of the flower centres with a pearl
More tomorrow ...
Hugs xx