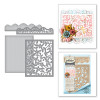
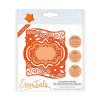
For todays card I have used one of the newer dies from Spellbinders.
To create this look I have used a quality white card and then simply inked through the die with the card still in place to bring out the detail. This way I am sure that everything matches my desired colour scheme
Links to all the suppliers are now listed at the end of the blog post

- S5-276 Fluer de Circle
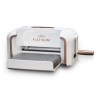
- PL-001 Platinum Die Cutting Machine
Other Supplies:
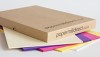
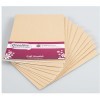
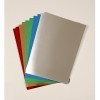
- Card from Papermill Direct
- Distress Ink from Craft Stash (Lucky Clover)
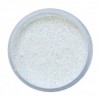
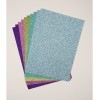
- Glitter from Glitter Magic
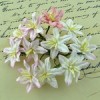
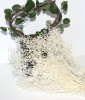
- Dried flowers from Anna Marie Designs
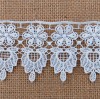
- Paper Flowers from Wold Orchid Crafts
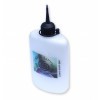
- Adhesives from Craft Stash
Instructions:

With die #3 from the Fluer de Circle cut one piece in white and ink through the die whilst the card is in place
Ink the solid centre with the same colour ink
Cut the filigree die in white and add the sentiment to the smaller centre part in the same colour ink

Create a card base to fit the Fluer de Circle
(All I did was fold in half an A4 white card and then cut to the size of the die cut panel)
Create a smaller layer in white and ink around the edges with the same colour as before
Create another smaller white panel and emboss this in any folder you have.
(Not a lot of this panel will be seen so you can skip this step if you prefer)

Flat glue the embossed panel on to the one with the inked edges
Add pieces of foam pad under the filigree layer and add this to the card front making sure that when you add the sentiment panel the words will lie level

Use a double layer of foam under the sentiment
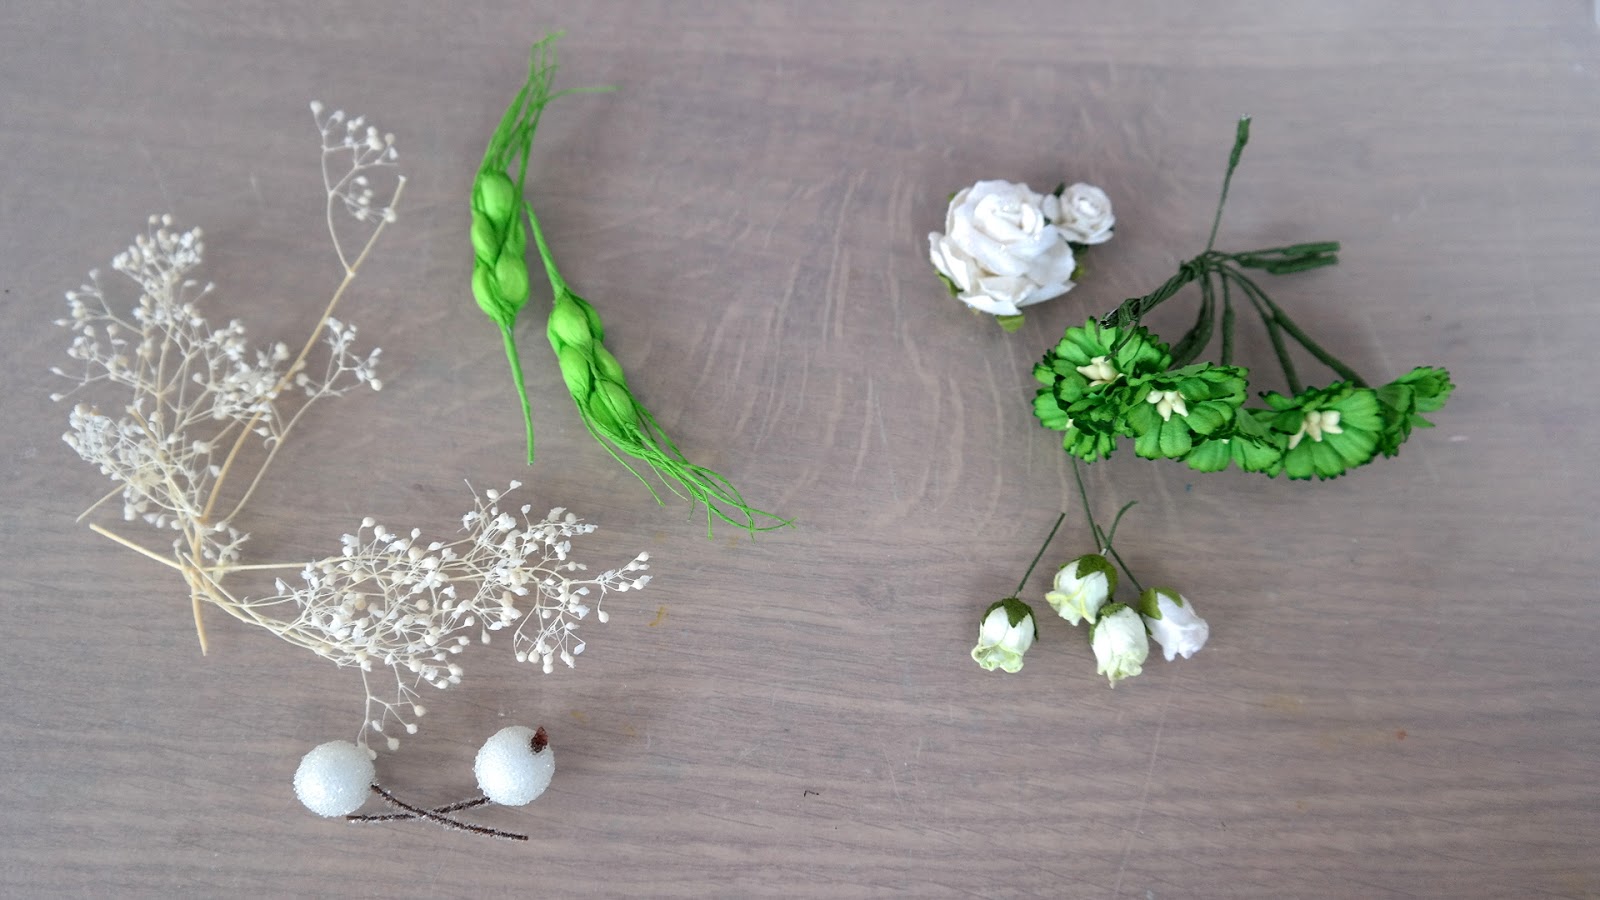
I have used a mixture of dried flowers on the left and paper flowers on the right

Add the layers to the base card and dress with the flowers. I use a hot glue gun to keep everything in place. Dot with wet glue and sprinkle with glitter
More tomorrow ...
Hugs xx