Beautiful Card Designs Made Easy

August 31, 2022

Mixing Things Up ...

Hi Everybody,

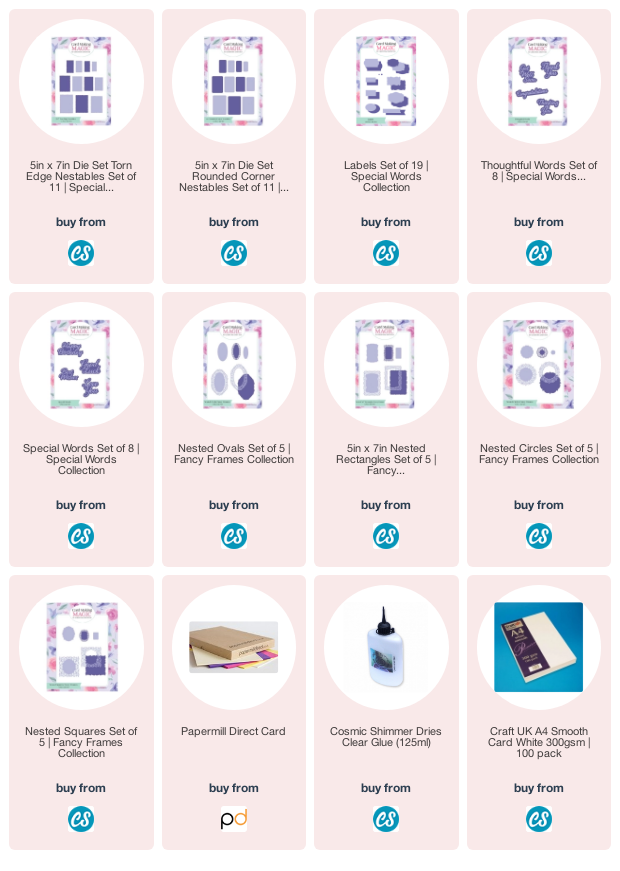
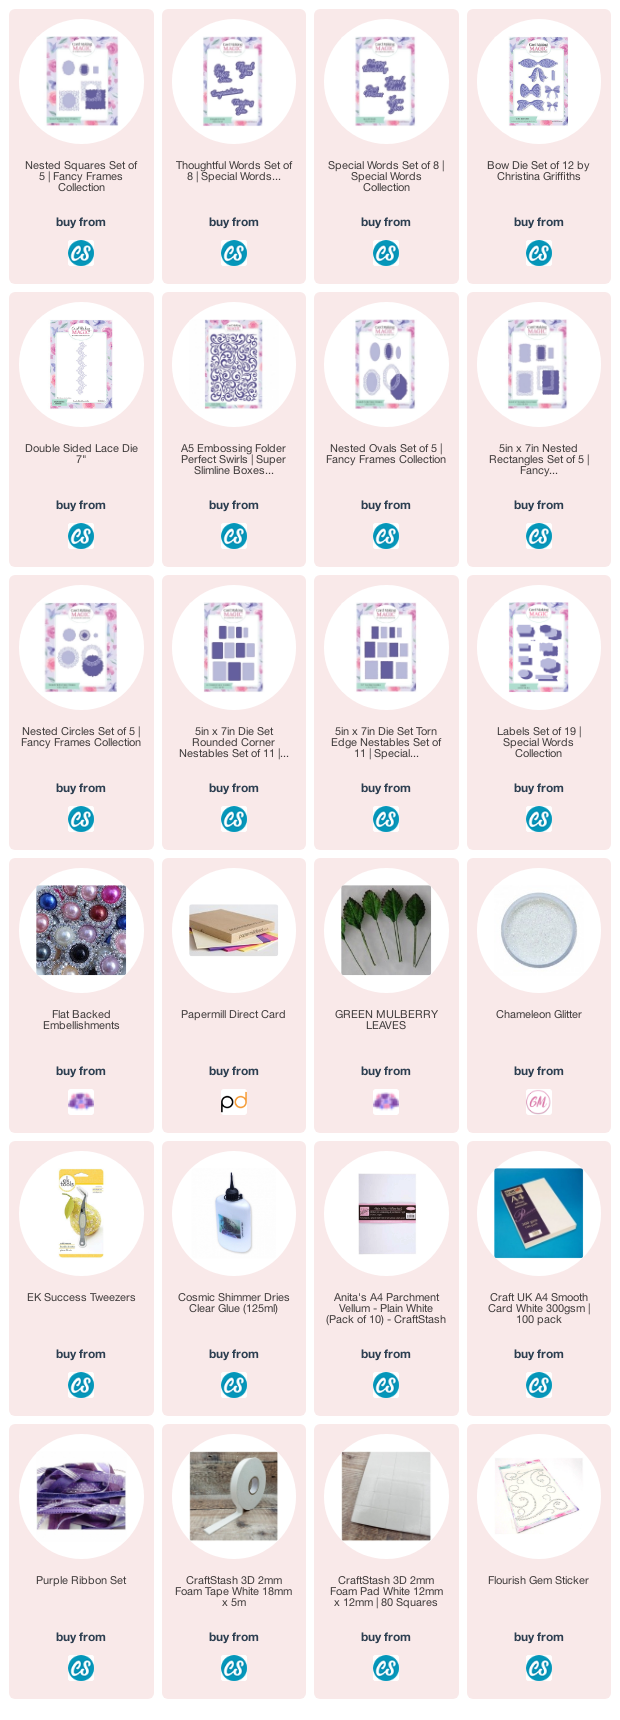
Todays card is a mixture of dies from the new collection and for this one I have used the Rounded Edges and the Oval Nested Fancy Frames.

The edges give a touch of elegance to the design and because they are also nested you can create frames of various sizes using them. 

Here I have simply created the base layers in alternating colours of blue and white and used foam pads to raise the layers up.

They all work so well together and it is fun to experiment and see what designs you can create for yourself. 

This card has used the Torn Edges  and I have created fames for my creation.

Again the layers have been cut in alternate colours.

Both have the addition of sentiments from the Special/Thoughtful Words Die Sets and they are large enough to make a really good focal point on your card fronts.

The flowers are always a special touch for me and as you know I like to add glitter to mine to sparkle them up.

Both cards are 5x7 as that is my favourite size to create cards.

 They are not too big and yet there is room to add embellishments to the card front that are not lost in the design.

More tomorrow ...

Hugs xx

August 30, 2022

Ink Smoosh and Gold Edging

Hi Everybody,

I have been doing some ink smooshing using Distress Oxides. 

The one on the left is with Picked Raspberry and Squeezed Lemonade and the one on the right is with Kitsch Flamingo and Mermaid Lagoon.

I have some videos on my YouTube Channel showing this Ink Smooshing Technique if it is new to you. And this one includes Ink Smooshing & Die Cutting also

But for these two cards I have cut out both the panels with the Torn Edges Die Set and then inked up the edges with Embossing Ink and added Gold Embossing Powder. I also added some of the embossing ink using a finger dauber and a stencil on one, and in a random fashion on the other and embossed them the same way.

The other layers for the cards have also been cut
with the same die set making them to fit around the main panel.

I found lots of items on my desk top left over from other projects and I used them to complete both of my cards.

The sentiments are from Special Words, cut in Gold mirror card and backed onto parchment.

I used some pearl flourish to finish off the look on both and I have had this flourish for years in my bit box, but by cutting it up into pieces I made it fit both of my cards.

Both cards have used bits that might otherwise have been thrown away or lost, but now they have been put to good use instead.

I can't choose a favourite as I like them both equally and both will go in my donate box ready to go to the Charity Shop to be sold.

Do you have many bits left at the end of a crafting session? And if you do how do you use them up?
Let me know and maybe some of your ideas can be shared amongst us

I hope you enjoy the two videos I have added, just click the links and it will take to a new page to watch them. They are not long so you won't get bored.

More tomorrow ...

Hugs xx

August 29, 2022

Ruby Update

Hi Everybody,

Thank you all so much for your messages and concern for Ruby and here is an update on her progress.

She has had a blood test and it has shown that her liver is not working properly. It is not cleaning the toxins from her body and it is this that is making her sick. She has an infection in the folds in her lips and it is not getting any better because of this problem. So now she is on antibiotics and other stuff to help her and she seems to be responding to the treatment. She is not back to her old self yet and I will let you know how we go on over the next few weeks.

Thank you again for your kindness

More tomorrow …

Hugs xx

August 26, 2022

No Friday Freebie ...

Hi Everybody,

I am so sorry but there will not be a Friday Freebie this week. 
My Ruby is not well and has been sick all night.  
She is very lethargic and did not come to greet me this morning .
At present she is lying outside in the cool air but shortly I will try to get her into the vets. 
 I will keep you posted as to how she is 

Love 
Christina xx

August 25, 2022

Nested Fancy Frames - Squares

 Hi Everybody,

Today I am featuring the Nested Squares from the new collection of Nested Fancy Frames.  I  have already added videos for the other shapes in the collection and they are all in a playlist on YouTube for you to view.

In this video I show you how I have created eight cards from this set and once you start to play the list goes on.

I have really enjoyed playing with all these new dies and the cards they can help you to create can be decorated as much or as little as you wish

I always go to town once I start to add stuff and I never know when to stop.

Some of the cards are planned out and put together as the plan but others where spur of the moment ideas inspired as I played with the dies.

This card is a little A6 style and was done as a quick idea to use up the extras.

I liked the outcome though and placing the die cuts the other way round to put the pattern in the centre of the card instead of at the sides. 

And don't forget whatever styles I have demonstrated here can also be achieved with any of the other shapes in the collection.

Just play and have fun as you die cut and see what they can make

This is one of my favourites and I haven't made this style for such a long time, but I will be using this idea again as it looks really elegant once made up.


I hope you enjoyed the video, and the others in this 
Nested Fancy Frames & Special Words playlist on YouTube

More tomorrow ...

Hugs xx