My little corner of Blogland where I can share my creations with you. There are many video tutorials as well as links to good quality websites for all your crafting needs.
Sorry for the delay in announcing the winner of the lovely Spellbinders die and stamp set. I took advantage of the weather and went out with Ruby before the rain started. It was very windy though and we were glad to get home again.
So now the draw has ben done and the name this week is ...
Doris Shawcross
Would you email me your postal address please to christina@card-making-magic.com and I will get this lovely gift in the post to you straight away.
There will another set on offer next week so be sure to come back and se what it is.
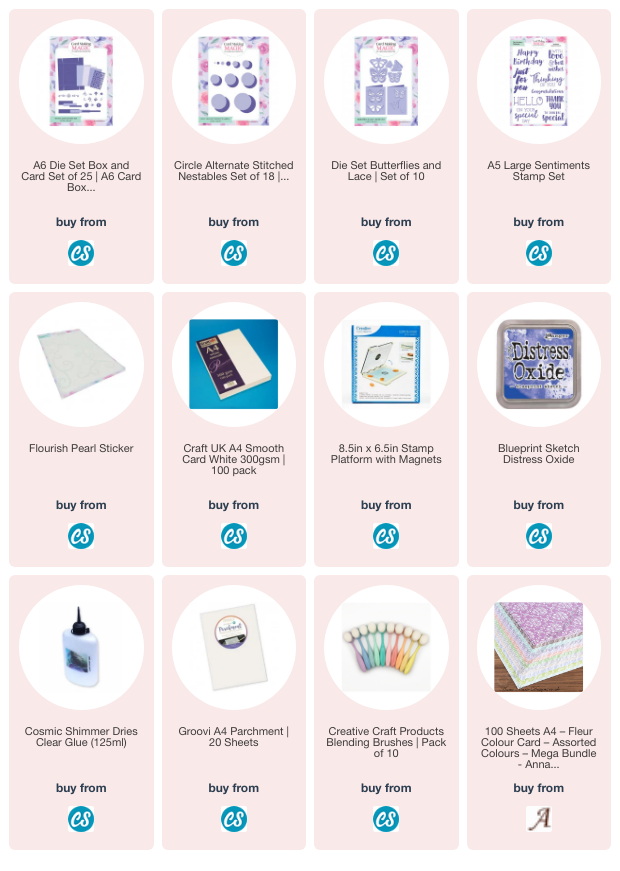
I have been giving away the magazines with the attached gifts as my Friday Freebie for years now but at the moment I have run out of them.
And so instead I am offering you the chance to have something else that you can add to your crafting collection.
Over the next few weeks I am giving away a Spellbinders Die & Stamp Set that is brand new and unopened.
Each one consists of a stamp, which is sometimes a sentiment and others floral or a border, but there is always a matching die to go with it.
This week it is sentiments and there are six dies in this collection, and they wild make a lovely addition to your cards.
If this is something that you would like to have then all you need to do is leave me a comment at the end of the post with your FULL NAME.
Then be sure to come back and check if it is your name that is shown over the weekend as the winner. You will have 72 hours in which to claim the pack. Good Luck
Items that we often discard in our homes can be repurposed to create backgrounds for our cards. .
Over the last few videos I have tried to share some of the ways in which I make these work for me and they are ideas that you may have tried for yourself.
I have used tin foil and kitchen towel as well as shaving foam and baby wipes for all different kinds of textures and features on my designs
If you are new to card making then maybe they will give you some inspiration to try these out and see what you come up with.
Using different shapes to add to the design can also make a difference. Both these cards are featured in the video
I have created a playlist on YouTube that has all my ideas in one place and it is well worth browsing if you are stuck for ideas, or at times when cash is low but you have some of these things already in the home.
This time I am featuring Bubble Wrap for another addition to your Everyday Items.
So grab a cuppa and sit back to relax as you view the video using this idea.
While browsing through YouTube the other night I spotted a video that showed me how to create a card with this look and I was very impressed,
The card was beautiful and the demonstrator made it look so easy to do. So of course I had to go to the craft room and give it a try from myself.
I had to search for all the small Christmas themed stamps that I had and I cut the bauble from some Mylar to make the stencil for the design.
It is no where near as impressive as the one I saw made and I am adding the video here in case you wanted to give it a try too.
There are bits I have omitted from making my card but I will be doing this again with other bauble shapes and I will get better in the process, but I have to say I enjoyed making it even if it is not perfect,
A really cheap and easy way to vary the look of your cards is to use items that you are sure to find around the home.
This card has been created with an everyday household sponge that I have cut into pieces to use with water based inks.
Quick, easy and very effective and if you change the colours you will vary the look.
I have used the pre printed and foiled sentiment strip that came with the most recent paper packs that have been released and there are such a lot in each of the packs.
The video is not too long but will give you time to relax with a cuppa and hopefully a new idea. You may have already tried this in the past or you would like to do so now.
This was a technique that I covered a few years ago now and I may have shown other cards from the idea but I don't think that this was one of them.
The background has been inked with an Ombre colour scheme going from dark blue to a paler shade at the top.
Then once that was dry I stamped at the bottom of the card the lace border in Versamark.
It uses a stamp that I bought at a Craft Show and I have had this for many years and I don't know if it is still available
Once stamped it was sprinkled with white embossing powder.
The powder stands out much more once it is heated and is slightly raised from the card too. I added self adhesive pearls to each of the points on the lace
The sentiment is stamped in black and then clear embossed to give it the shine.
The flower display has been added to trail down the left side of the panel and as usual I have dotted it with glue and sprinkled it with glitter.
Smaller pearls have been added around the display and then that panel has been added to a top folded 5x7 card base.
It is a very pretty card and the techniques is easy to do. Take a kook at some of the stamps in your collection and try using them in this way for spectacular results.
Today it is pouring down and quite cold so not a lot being done outside in the garden. But yesterday I managed to get some of my very big plants re-potted and some of the new plants used to fill out the other pots so they look pretty again.
Then the whole garden ... back and front ... was jet washed to get rid to the grim that has collected this year, and now it all looks clean again and ready to face the world. And that's another job off my list of things to be done, and it is going down steadily.
This card is using another stamp and matching die set from Altenew and these have ben coloured in with the layering stencil.
Once these have been die cut I have added it to a piece of parchment that I have torn into shape and add to another panel that has also been coloured with stencils.
The parchment diffuses the background and allows the flowers to show up more.
Then the whole lot has been added to some knitted card with foam tape between each of the layers.
The little sentiment is from a Card Making Magic paper pack and I added that to some white card for strength.
The card looks prettier in the hand than it does here and it is one that I am not unhappy with
Not been around much this week but I have got loads of jobs done around the house. There are times when crafting has to take a back seat while other things get done and this is just one of those times..
This card was done on the spur of the moment and it is a 5x7 card with the fold at the top.
I have made a background from some Fleur card from Anna Marie Designs and stamped some text onto the card.
The stamp was free with a magazine and the small twirly bits are from the same set. I added black pen around the edges as faux stitching.
I inked the edges with Antique Linen and added the flowers with foam pads to raise them up.
The large purple flower and the leaves are from the CMM Hellebore Decoupage set but the Roses are from the Layered Roses set that is o longer available.
The sentiment is from a pack bought at the Craft Shows and U cut off wat I need and add it to the card with foam tape.
Quick simple and easy card that is now ready to send.
This pretty A6 card is created with inks and a 3-D Embossing Folder from Altenew. It was part of one of the Create Your Life kits that I used to get
It is a very easy technique to do and if you prefer it in a video then be sure to let me know and I will do one straight away.
The result will be different every time you do it and of course can change drastically depending on the colours that you use.
I am very happy with this one and I think the flowers stand out really well especially with the gold edging to them.
Here is another done in more vibrant colours and added to some of the knitted card from
Anna Marie Designs.
To thus circular card I have also added in some Mulberry flowers.
If you like to use flowers on your cards and always got them from Wild Orchid Crafts then it was a great disappointment when they stopped shipping to the UK.
But one of my regular readers has given me a kink to a new place that has the same types of flowers at much the same prices as WOC
So a great big Thank You to Ann Topp for the tip about Carroway Cottage
They have the most amazing range of flowers that you could need, in all colours and sizes and types, and when I need more flowers I will definitely be giving them a try.
They are a family run business based in Scotland and so will ship to you in the UK.
This card has been made up from all the bits and pieces of left overs from the technique I have shown in the past couple of days mainly using the Elastic bands to create the background.
The strips that were left are far too pretty to just put in the trash can and so I put them to good use instead.
I added them to some double sided sticky sheet and then added that to a 5x7 card base.
The flowers are from an Altenew kit called Bitteroot Flower that I have had for some time and it has layered stencils to colour it in.
They have been added with foam pads underneath to raise them up.
They have also been added to a die cut that has been cut from Parchment, and that has been added with foam tape placed strategically under the flowers so that it doesn't show
They say crafters never waste anything and in this case it is true as those pieces that were left have made a really pretty card that some one is going to enjoy getting.
I know we don't like to make this type of card but sometimes a Sympathy card is the only thing that is needed.
This very elegant card is created with the Elastic Band Technique that I shared with you yesterday and it is perfect.
It is not to colourful and over powering and yet the background does a lot to make the card impressive, and it is very easy to do
For this card I have used black card and brushed over it with anti static. In my case I use talcum powder as it has the same effect as the more expensive powder but this makes my card smell lovely.
I then sprinkled it with silver embossing powder and gently heated it. The result is really pretty and the silver sentiment and leaves echo the colour.
I added them to a piece of parchment just to make them stand out a little more but it doesn’t detract from the card design..
Do you have lots of elastic bands lying bout round your home?? I know I do and I use them in lots of different ways.
But I found this pack of really cheap bands in my drawer and so I thought I would put them to some good use.
I created some backgrounds to use on my cards and these are really pretty, and depending on the colours you choose they can be used for make or female cards.
I had so much fun creating these and I tried it with every colour of embossing powder that I have. Some I liked more than others and those I made into cards.
Use your dies to cut the card base into different shapes and add layers to accentuate the patterns you create.
This circular card has several layers in pink and silver and the embossing on this was done with pink embossing powder for a more subtle look.
You may not like to add flowers to your cards so if that is the case then leave them clear.
The actual technique will create lots of interest on your designs just as it is.
My apologies but there is no Friday Freebie this week instead I have used these butterflies and added them to backgrounds that are all circles but created in different ways to create some really clean and simple pretty cards.
This one has an inked backdrop to a lovely piece of embossed and glittery acetate that has ben cut with a circular die. I have had the acetate for years and I got it at a craft show
I have used small foam pads in strategic areas to add this to another panel that I have hand drawn around the edges.
This has had Thank You stamped at the bottom in black ink and then all of it added to a card base card with foam pads.
The butterflies have all been cut from 300gsm white card and adhered to a piece of parchment.
This has then been glued to the centre of the circles along the body line only.
The card to the left has again got an inked circle but to the top of this I have used a stencil to add darker colour.
This butterfly as been coloured with the same Blue Print Sketch ink.
This one has been turned into a birthday card using a stamp that was free with a magazine.
For this card I have cut a circle from the Fleur Card from Anna Marie Designs and add it to slightly larger piece of peach card.
I have hand drawn around the edge of the circle and the card for decoration and this is also a Birthday Card.
All the butterflies have the addition of pearl flourishes added to the body line and to crate the butterfly trail onto the card itself.
All the cards are an A6 size and will fit into s standard envelope