Hi Everybody,
The card I made for todays tutorial features one of the new dies from Becca Feeken who is a designer for Spellbinders. This is her beautiful Venice Lace Collection and it is so intricate and elegant.
I didn't have card in the shade of pink that I wanted so I used Picked Raspberry to blend white card for my backgrounds and flowers
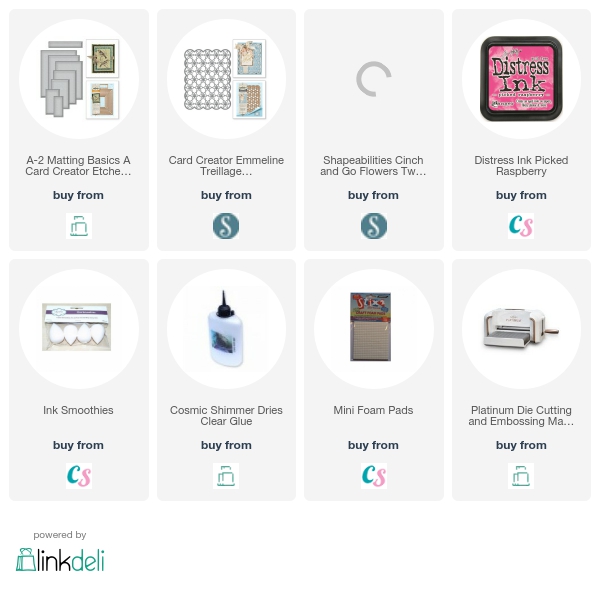
Spellbinders Supplies:
- S5-131 A2 Matting BasicsA
- S5-311 Emmaline Venice Lace
- S4-792 Cinch and Go Venice Lace flowers
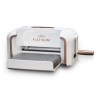
- PL-001 Platinum Die Cutting Machine
Other Supplies:
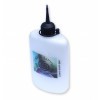
- Distress Ink from Craft Stash
- Pearls from Want2Scrap
Instructions:
With the largest die from Matting basics A cut two pieces in white card
Score down one of them by about half an inch
Add glue along this small scored panel and add the two cards together to create the base
Cut another panel in white slightly smaller
With a blending tool ink over the panel with Pocked Raspberry to create an Ombre effect and leave to dry
With both parts to the Venice Lace Emmaline die cut one in white
Add mini foam pads to the back of each of the tiny flowers
Add to the Ombre panel
Cut as many flowers and leaves as you like and with Picked Raspberry ink through the die to the flowers before you remove the card
Shape the petal with a ball tool to give dimension
Assemble the flower with a Brad and off set the petals as you go
Stamp a sentiment of your choice and sketch a black line around it
Cut out into a banner shape and add larger foam pads to the back
Assemble the pieces by adding the Ombre Vnice Lace panel to the base card
Add the sentiment where you would like it and arrange your flower and leaves to the left side of it
Add a pearl to each of the flower centres in the Venice Lace
More tomorrow ...
Hugs xx
 Hi Everybody,