Beautiful Card Designs Made Easy

Showing posts with label Sparkles Group. Show all posts

January 25, 2013

Using Acetate...

graphic 8596180
Hi Everybody,

No Jewel Box today because all I am  going to do is give it another coat of white Acrylic paint and leave it to dry ... so more tomorrow.

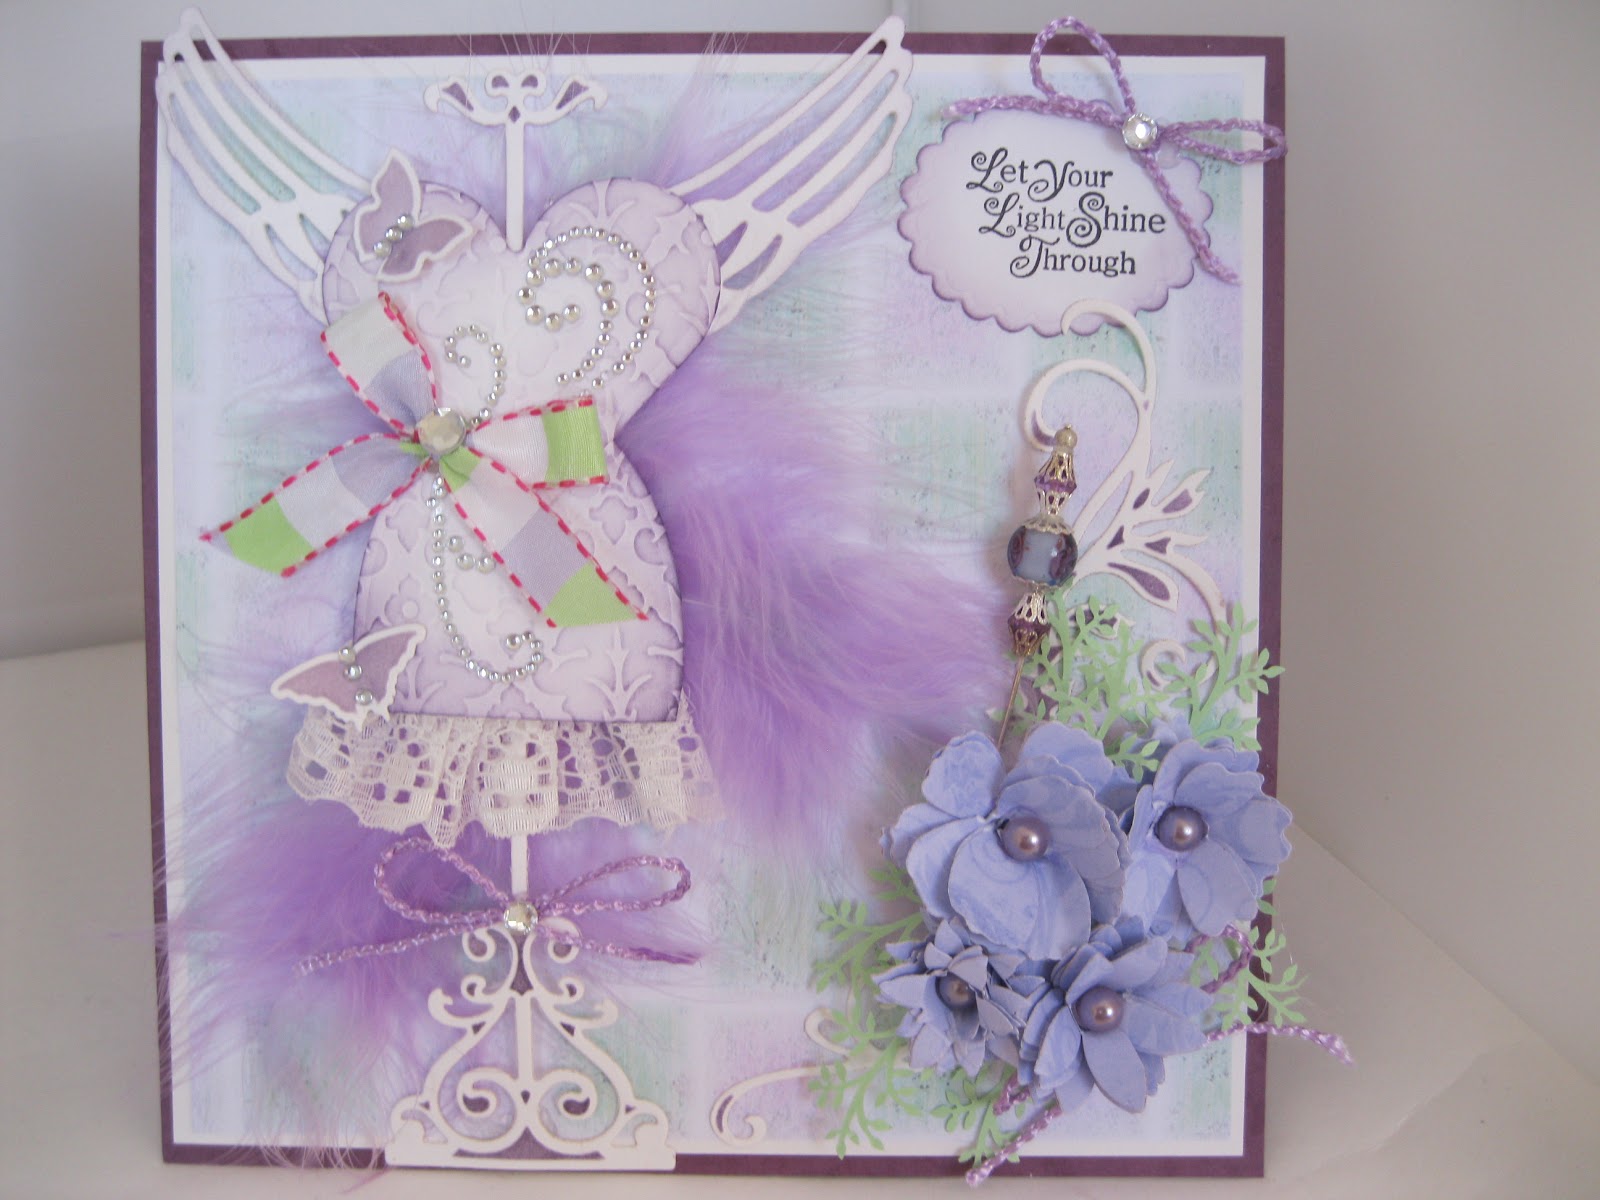
Here is a card with a bevelled front made out of Acetate and it comes complete with a video tutorial too.

The Acetate I have used for this is from Crafters Companion

The Decorated Hatpin is another tutorial

The Hatpins I have used are 3" long and come complete with end protectors and they are from the Sparkles Group

They can be found in Specialist Findings and  if you add in the code   CGDIS5   at the checkout you will get an automatic discount on your purchases.

The video is the  Acetate Front Card  and it will give you a very pretty card at the end. You will need to make a box to send it in because of the bevel in the Acetate ... but it is well worth it.

Blender tools

Because of the popularity of these little Blenders I have decided to give away TWO packs of them.  The draw will be completed tomorrow and so you now have two chances to win a pack of five Blenders.
 
If you still haven't added your name to the list then here is the link again ....Blender Give Away
 
Hugs xx

August 31, 2012

Here's the card ...

This is the card that was in my mind yesterday for the using the  Cut, Fold, Tuck  dies that  Nery sent to me.

The photo has turned  out a bit dark  but the card itself is really lovely with  all the  Want2Scrap Diamante on it.

The  Decorative Hatpin  was created by me  and the pins ... complete with end protectors are from the  Sparkles Group  

You can also get the pins with a charm loop on the end now and that is extra special.

To get a discount on your purchases add the code CGDIS5 at the checkout.

This is the effect close up and you can see that all the elements to the  Cut, Fold, Tuck dies have been layered up.

The one used here is the  Floral Burst

I have used foam pads in between each layer to give height and added a gemstone to the centre part.

The background has been embsosed and the lacy border is from the Persian Accents.

I have pierced around the edge of the card and used mounting tape in between these layers too.
And this is how I have created a stand for  the back of the card to enable it to stand freely ... and eliminate the need for an insert.
You can do this with many of the dies that you may have ... Labels or in this case I have just used the Scalloped Rectangles in two different sizes.
 
It is very easy to do and makes all your cards free standing without any fuss.... but having said that I like the look of the card stand that   Marie-Louise  is using for the cards on her blog.  Pop over and take a look ... it's gorgeous.
 
I found several designs for the stands on Ebay ... and so I just had to order one .... well you do don't you ????
 
Hugs xx


August 22, 2012

Spellbinders Perisan Accents

I love this colour .. it is so fresh and I think it makes a very pretty card.  It never fails to please me and the backing paper for this card is from the Floriogrpahy CD from My Craft Studio.

The lacy effect for  this card is  the  Persian Accents  from  Spellbinders... and   I have added four of them ... all off set along the front panel.
Then  along  the outer edge  I have used  Cosmic  Shimmer  Glue  to create the  Faux Pearls.

Around  the sentiment  panel I have  wrapped some  Organza  ribbon  and on  to the  bow  I have added a  Vintage  button.

Through this I  have add  sparkly  Decorative  Hatpin  that  can  later  be worn as a  Lapel  pin  by  my  recipient.

The flowers   are all from  the  Bitty Blossoms  with the  Foliage  leaves  tucked in  behind... and both die sets are  from  Spellbinders.

It is a  larger card and I  have made the  "A"  frame to allow the  card to stand  by itself

Hugs xx

August 21, 2012

Spellbinders Moroccan Accents


This is quite a large card  (8" Square)  and  the white panel on the right of the card  has been embossed to give detail.

The  backing paper, on the left   has been filled with  the Micro Glass Beads  which,  after I had  added the front panel  and the border,   was a waste  of  time  ...  coz you can't  see  'em.
The border effect is created with the  Moroccan Accents  and I have added it around all four sides.

The background for the sentiment panel is  Romantic Rectangles  that  I have made that  into a square,  and a lovely swirl of Diamante from  Want2Scrap   runs  alongside  the  verse

The flowers are all created from the smallest part to the  Anenome Flower  and a little piece of the Card Candi  from  Craftwork Cards  has been added   to the centre of  each one.

The backing paper and verse are from the Floriograpghy CD from My Craft Studio and it has some of the most gorgeous papers I have used.

I have added in a  Decorative Hatpin which makes a very pretty removable gift.

The Hatpins,  (which come complete with end protectors)  and the beads are all from the Sparkles Group  where you can get a discount by adding in the code   CGDIS5   at the checkout.

Hugs xx


August 15, 2012

Birthday Special ... for my friend

Today I am going out to lunch with a very special friend and it is her birthday.

We have been friends for 25 years and so I thought I would make her this very pretty card in her favorite colours.

I have added feathers, lace  and ribbon to the Dress form and the Want2Scrap "Bling"  is along the form itself and for the butterfly trail.

The  Decorative Hatpin   is added as a small gift and can be removed from the card for her to wear in her lapel.

They are complete with end stops from the Sparkles Group  and by adding in the code  CGDIS5  at the checkout you will get a discount from me.

They do make a very lovely addition to all your Girly cards.
And of course every special card needs  a special box ...and so here it is decorated up to match the card.

I have added Diamante strips around the aperture and I really hope she likes it ... tell you tomorrow !

Hugs xx

August 14, 2012

Playtime again ...


Over the weekend I have had chance to play with Spellbinders and this is another Fun Card that I have made.

I love the girly look of this card and it was so easy to make using the Heart shape and an Oval to get the curves in the form.

The stand to the dress form was made from two of the shapes Elegant Posts and I have just glued them to the back of the dress form.

I think it makes a lovely card and so here is the link to the Spellbinder Dress Form Tutorial.

I have added in flowers from Wild Orchid Crafts and the little bit of lace was a piece I found in my "Stash"

The pink Curlecues  are formed from some pink  coated wire and the Decorative Hatpin is one I made a while ago and added in to the flower.

The Hatpins are  available to buy complete with the end stops from the Sparkles Group  and you will find  many sizes in gold and silver in the  Specialist Findings  section.

Don't forget  to add in the code ...  CGDIS5 ...  and you will get an automatic discount  at the checkout because you have come  from me.

And saving some money has to be good.

The flowers on this card  are formed from the Bauble Blossoms  and some of the  Doodle Parts are tucked in behind.

The wings are from the  Fallen Angel set and I have added lace  along the bottom of the dress form.

I like these cards .... do you ??

Hugs xx


July 24, 2012

Creating a Spectrum Noir background ...

Now having completed the baby image from Mo's Digital Pencil  that  I have been using over the last few videos it is now time to add the beautiful baby to a special background.

For this card I have stayed with the  BLUE  set of  Spectrum Noir  pens from  Crafters Companion   and added in some of the darker ones to get my backgound.

Click to Enlarge

If you enlarge the photo take a look at the background piece.

You will be able to see just how pretty it is...
and the   Spectrum Noir Background  video will show you how to replicate the look.

As always if these techniques are known to you then please don't think that I am talking down to you.

But many new people visit these pages and the Card Making Magic website and it is my intention to help them get a good start with their cardmaking hobby.

I know there are people in their 80's,  and some as young as 10,  that visit and make use of  the tutorials and that makes me very happy. 

And if they are happy with what they come up with then so am I.
Each of these cards has the addition of flowers from Wild Orchid Crafts  and the  beautiful "Bling" is from Want2Scrap 

The deorative pins are hand made .... by me .... and the supplies are from the  Sparkles Group

They are created with a blank 3" hatpin and they come complete with end protectors.

You will find them in the Specialist Findings and don't forget to add  CGDIS5  at the checkout This will tell them where you have come from and will allow you to get your discount.

Hugs xx


May 10, 2012

White Wedding Card

A few days ago I posted a cream card for a Wedding that I was going too ... where the Grooms mum asked me to make her a card as well.

She wanted hers to be white and elaborate and so I went to town on this one.

It is made to an 8" size with an easel back so that the card will stand, and it has been matted and layered in silver and white.

I pierced the outer edge and added Diamante all  around the inner edge.

I  used the technique in  Braided Ribbon   along the left side of the card,   added a bow  and a white rose to the top and attached a bell charm.

The Spellbinders used for this card will all be in BOLD so that you will know what has been used
The Brides and Grooms name and the wedding  date have been layerd up with the two largest dies from the Floral Ovals with all the edges sparkled with Glamour Dust.

The piercing in these match the ones I have done around the edge of the card, and they are layered onto the largest  Romantic Rectangle which has been layered onto silver card.
All these layers are seperated with foam pads

The flowers are created from the Bitty Blossoms, Spiral Blossom 1 and 3   and the silver flourish under them is from the Belle Rose
All the flowers centres have a had either silver glitter balls or  pearls added to them and they are from the Sparkles Group  

They are offering you a 5% discount on any purchase and they do the beautiful Hatpins with end protectors that I feature on some of my cards. Add CGDIS5 at the check out to get your discount


The box needed to match the card and so more of the blossoms have been added with the flourish behind them too.
All the petals have Glamour Dust on the egdes and the lid is inlaid with Acetate and edged in Diamante.

The Butterfly and it's trail on the card and the Dragonfly on the box lid are Diamante and they complete the look.
I am very pleased with the result and will be happy to see the happy couple accept this from his mother... with lots of love.


Here is the finished creation and I have since added silver tissue paper to the box to protect the card

Hugs xx

March 22, 2012

Persian Motifs and Accents

This another card made featuring the Persian Motifs and Accents from Spellbinders.... I wish they would stop coming up with new ones... it's costing me a fortune ... coz I can't resist them.

But this new set is just so gorgeous it would make any card look beautiful.

I love the lacy effect from the border die and that could be threaded with fine ribbon or dotted with pearls along the edge.

My imagination starts to go into over dive when I see a new addition ot the Spellbinders range.

The background has been embossed with Flora M-bossabilities folder

The oval behind the sentiment is the Floral ovals and I have cut the largest and the next size down.

I stamped the sentiment onto the smaller one before I cut it out and turned it sideways on top of the other.

I used some Nestabling from Want2Scrap ... but I cut it up to fit behind the rotated sentiment piece.

The silk ribbon is threaded through one of the dies from the  Ribbon Buckles  with a pearl added on top... and of course the Hatpin that goes with it.

The Hatpins and end protectors are available from the
Sparkles Group and don't forget to add the code CGDIS5 for an automatic discount at the checkout.

Hugs Christina xx

March 21, 2012

Cream and Gold

Cream and Gold is such a winning combination for any card,  but really suits the wedding theme which is getting into full swing at this time of the year.

You could add any embellishments that you have in your "Stash" ... but for mine I have added the pearly Nestabling  swirls tucked under the Floral Ovals from Spellbinders.

I have added cream ribbon that is edged in gold and tied into a large bow for the top of the oval.

The sentiment has been stamped onto the oval with Versamark and heat embossed in a fine Gold detail powder.

The flowers are from Wild Orchid Crafts  and they have the addition of Glamour Dust along the edge of the petals. 

I created the Decorative Hatpin which is removable and will make a small  a gift for the recipient.

The Hatpins come complete with end protectors from the Sparkles Group  ... and if you add the code CGDIS5  then a 5% discount off your order will be applied automatically at the checkout.

Hugs Christina xx


February 24, 2012

Decorative Hatpins

Adding embellishments to my cards is one of the things that I really enjoy doing and I openly admit to being a "More is More" kind of cardmaker.  I just love all the pretty things that go to making a truly feminine card .... not much good with male cards!!

Yesterday I covered felt flowers created with Spellbinders and today I would like to show you some beautiful Hatpins.


These are always a luxury touch and they are not hard to do.  There is a video on the website about   Decorating Hatpins


The Hatpins that I use are 3" long and come complete with end protectors as a safety feature ... and that way the recipient cannot hurt herself on the sharp point.

I buy mine from the Sparkles Group and they are offering you a  5% discount  on your purchases.

Make your choice ... and at the checkout add the code CGDIS5 and the discount will be automatically applied. 

You will find the pins in gold and silver and in different lengths in "Specialist Findings"


Add the pins to the card ... threaded through ribbons or flowers ... but don't forget to tell the recipient that the pins can be removed and used as a lapel pin for her jacket. 

Maybe another idea for Mothers Days eh??

Hugs Christina xx

February 15, 2012

Going Solo ...

This morning I thought I would make a video on the card I was playing with ... without the aid of a safety net and no Griff ... and this is the card I came up with.

It uses some really pretty flowers from  Wild Orchid Crafts  and they have been added to a large, cream  luggage Tag. 

This corsage is a mixture of  Roses and Cherry Blossoms and I think it has gone together really well.

I thought I would try green for this card as it is not a colour I would choose often ... yellow is another that I tend to shy away from. 

The Paper Doillies are coloured with  Distress Inks and added as a panel, and also on the Tag itself.

The colours I chose to distress them with are Bundled Sage and Forest Moss.

The blending tool is homemade and if you would like to make your own then have a look at Blending Tools  and save yourself some money in the process.


The  Hatpin and end protector  is from the   Sparkles Group   and you will find them under Specialist Findings. 

You can get them in several different lenghts but my choice is the 3" one as it fits very neatly onto a card front.  I have added spacers and several sizes of pearls to create the effect.

Don't forget to tell them who sent you!!

Push it through the flowers and pop the end protector back on  for safety, but remember to tell the recipient that it can be removed and then worn on the lapel.  So a card and a gift in one go ...

... and the video tutorial will be added to the website shortly. Hope you will enjoy it.

Hugs Christina xx


February 02, 2012

My First Day as a Blogger!!

I have finally been persuaded to join the ranks of Bloggers and this is the start with my very first post.

I have been making cards for a number of years and when I first started they were not very good... but having said that I sold many of them and the buyers came back for more. I even had commisions to work to and that was very complimentary to me... and a great boost to my confidence.

I bought so much crafting stuff, and some of it not very good,  that quickly filled my dining room with boxes and bits... and was a massive task to clear everything away every time we had someone for dinner.  So from there I progressed to the small bedroom ... which my husband was using as his hobby room... and he was relagated to the dining room instead (poor man)

But it made more sense to craft in an area that I could close the door on each time I had done some cards.... hides the mess you see!!

Soon I wanted to do more and so I started researching into taking this further.  My first idea was to create a website that would be full of information and projects for "NEWBIES"

A website that would be easy for people to follow and so in 2009    Card Making Magic  was born


I worked hard and added as much as I could to the information that I was giving to create a particular look so that others would be able to follow my ideas. I started with the basics of what you would need to get going with this lovely hobby  and worked my way up to adding Video Tutorials.

Lots of poeple ...me included ... like to watch something being done before it sinks in and so that seemed the next step to take. There are lots of easy techniques and card ideas in the videos and as the time on YouTube has been extended I am able to do more.

As Card Making Magic reaches it's third birthday it continues to go from strength to strength and there are a lot more ideas and projects all buzzing around in this head and I can't wait to show them to you.

I  am always amazed when I get the emails telling me how much my website is appreciated and that people come back time and time again, and hopefully now they will have a blog to visit too with more information and cards that will help all new Cardmakers get started.

Thanks for stopping by and I hope you will come and visit me here and on the website over and over again.

Hugs Christina xx