Beautiful Card Designs Made Easy

February 12, 2013

My favorite machine...

Hi Everybody,

I love my Spellbinders and my choice of die cutting machine to go with it was the Grand Calibur.

They can jazz up the simplest of things without any effort at all.

Of course you will find that the dies will go through most other machines too and give you the same beautiful results.

But I have had several emails from people who have bought the Grand Calibur and don't know how to layer up the "sandwich"

The Calibur enables you to use the larger Grand dies... and I have covered cards made from them in other blog posts.

So ... I thought that the best way to answer the questions was .... Yep !  you guessed it ... in a video.

This is one of the films that was done over the weekend when it poured down most of the day.

The Grand Calibur Explained is another short tutorial but it has had some good comments on YouTube

The white adapter plate is available from  Creative Studios  which is a UK based company... and the link will take you directly to the page with the plates on there.

Hugs xx


February 11, 2013

Creating a Corsage ...

Hi Everybody,


No post yesterday, but I was not idle.  My "Film Crew" and I made a short tutorial.

Over the last few  projects I have been adding some  pretty flower corsages and I have been  asked if  I can  show how I make them.

So while it was  raining yesterday  my "Film Crew" was there,  with his trusty camera,  and  we did a little tutorial  on the way I do them ...  you may have your own way.

But if you are new to  cardmaking  then maybe this  will help you with some ideas on how to  decorate the front of your  designs.


It's not a long  one but I hope you  will enjoy it and let me know what you come up with

Please take a look at the tutorial for Small Flower Corsage   and the Decorative Hatpins are now for sale in  ...  My Shop  ...


This is the one I created in the film and I think it looks gorgeous now that the glue is all dry.

Can't wait to add it to a card for a Special Occasion and  I will be sure to show you when I do.

The flowers are from Wild Orchid Crafts

The beautiful pearls are from Want2Scrap


Hugs xx


February 09, 2013

We Have A Winner....

Hi Everybody,

Today is the day for the Prize winner to be announced and the lucky person is ..... Drum Roll please ...
Lisa F ....

Congratulations Lisa you have won a fabulous prize and you will not be disappointed. You should have been notified by email now... so I need your snail mail address and the parcel will be on it's way to you....

But for all of you who entered and didn't win I have another parcel with the same kind of   "Goodies"  that I will add later in the year and give you another chance to win that one.

The Craft show was very good and had a mixture of all kinds of crafts.  Cross stitch, knitting, painting , jewelry making and many many more.

From a Cardmakers point of view,  my personal choice is the huge   Great Northern Papercrafts Extravaganza  (GNPE)  in Harogate as it has much more of my kind of thing there.

And this is all I bought yesterday.  Some red line super sticky tape, some  Grosgrain ribbons, several pots of Gilding flakes, sentiment stamps, several bags of sparkly Glitter and some storage boxes.

One or two other bits and pieces that are not in the photo.... which I will show you when I make them up into cards.

The next GNPE is in March and so I will be going to that.  So got to get saving my pennies again.

I chatted to several ladies that visit my website and several more that now have my business card and hopefully they will pop along for a visit too.

All in all not a bad day ... but roll on March for the next GNPE ....

Hugs xx

February 08, 2013

It's 5 am ....

Hi Everybody,

It's very early in the morning here and I can't sleep ...  so I  just thought I would add a little post before getting ready to go to Manchester.

I mainly wanted to answer some queries.

 The first one is I will post the items from My Shop
 ANYWHERE  so if you live USA,  Australia, New Zealand, India, Europe it doesn't matter ... just place your order and you will get them.

I have also been requested to alter the option to buy so that you can order more than one item if you so wish ... done...  and it is now available on the website.

Secondly I have researched the postage very carefully and it is correct .... but thanks to the lady who wanted to pay me extra postage for the items sent to her country.... it's all taken care of.

Then there  are the people that see a red  X  at the side of their  name when they  have  added it to the" Give Away"  .... you haven't done anything wrong ... it just means that you have the opportunity to delete it if you have changed your mind ... or added it twice by mistake.

Another concern that I have been asked about is your comments .... they won't be visible straight away until I have moderated them and then they will be on the page ... so you don't need to add your message again.

And it is not a problem  if  don't have a Blog  ...  You don't need one and you can still enter the Give Aways  just leave the URL box Blank

On to other things ... have you noticed that on the left of the page I have added MY SHOP as a permanent fixture and I am working on other things to add to it.

On the right of the page is my brand new Accredited Instructor Award  and I am displaying it with pride.

I have also started to add a very beautiful watermark to my photos and I bought it from Whimsy Stamps for $5 ... about £3.20 .... so cheap as chips and very pretty.

 It came complete with a new signature too which is at the bottom of my pages on the website.

The   Give Away   is running until tomorrow so add your name, if you haven't already, and thank you for all your lovely comments.

And last of all to Gina Gallagher,  you  emailed me about a Christening card you want me to make ... Gina I am so sorry but I have deleted the email by mistake  so can you   please   email me again with more details of  what you require .... size, colour, occasion, and anything special that you want to add.

OK so it's now 5.45 am and I need to go ... I will be back tomorrow with  a winner of the February draw.

But watch out for the next one ....it's going to be amazing  and that's all I am saying for now.... but you are going to absolutely love it.

Hugs xx


February 07, 2013

Adding Gemstones

Hi Everybody,

Click to Enlarge
I make no secret of the fact that I love adding "Bling" to my creations and I readily admit to being a more is more  type of Crafter.

And if you follow my blog regularly then you will know exactly what I mean.

Just the tiniest bit of a pearl or gemstone really can make all the difference to a finished card.

I always use the self adhesive gems from Want2Scrap and I have added some into this months Give Away  ... so click the link to add your name for the chance to win.

It can be cut up to be placed strategically on the design ...  and the pearls in the photo use just a very small amount from one piece.


But what happens if you can only buy pearls/gems,  in your part of the world,  that need to be stuck on by yourself.

And what happens if you can't get the swirly pattern to look good.

The simple answer is to buy a template.... and read about ...      Adding Gemstones

That way you will get a really even distribution of the pearls over your design, and it will look beautiful when you have finished.

This weekend has a Craft Show for us to visit. It takes place at the Event City in Manchester and guess who will be there with money in her hot little hand ready to buy some goodies..... yep ME !!!

I have my list already made out, and my pennies all saved,  and I will be prowling around with my "Film Crew" on  Saturday 9th Feb   ( Sorry "Film Crew" just changed it to Friday 8th February)

So if you are there  look for the man with the "Card Making Magic Film Crew"  hat on and please say Hello... It will be lovely to meet you and .. I may have some goodies for you if you do.

Don't forget to visit MY SHOP .... the link is at the top left of the page.

Hugs xx


February 06, 2013

No Cards Today ...

Hi Everybody,

I have no cards to post today because I have been busy posting other things instead.  I opened my shop yesterday and within 10 minutes I had my first sale.  So I would like to say some   "Thank Yous"  to several people.

First to Kay Maude for being  being  my first  Blender customer.
Then to Edith Bell who is my first International Blender customer and her blenders have gone to Australia.
Then to Linda Carlin who was the first UK buyer of the Hatpins
And last but not least to Vicki Lee who was my first Hatpin  buyer from the USA.

Thank you for your support ladies it is very much appreciated.... and I have added a permanent link to
 MY SHOP at the top left of the screen.

I am so pleased at the response...  and the lady in the post office is sure getting to know me over the last few days.  

The buyers in the UK should get their parcels really quickly but the overseas ones will take about a week ... so the lady in the post office tells me.  So if you could let me know when you get them just to make sure everything is running as it should.

Please don't think that because you are a long way from the UK that you can't buy ... I am happy to post them any where ... just  as I will do with  any of  the "Give Aways"   

And that is still running until Saturday so if you want to enter then Click Here

Hugs xx

February 05, 2013

Wish Me Luck ....

Hi Everybody,


When I offered the Blending Tools as a "Give Away" I was overwhelmed by the response. 
And so pleased that many of you wanted to buy them if you didn't win the Freebies.  


Blenders For Sale
It was because of this encouragement from you that my "Film Crew" took off one hat and donned another as   "Chief  Blending Tool Maker" 

He has been very busy making some for you.

He has been researching materials to give you the best price we can... and a design that is comfortable to use.

And I have been researching  how to open a shop.


Today is the day that I am asking you all to keep your fingers crossed because today is the day that I have launched 


There are five blenders in each pack and they come complete with Foam and Felt pads for the different applications you may want to do.... and they are very well priced at £12.50 for a pack.

So I hope you will click the   " My Shop"   link and  pop over to take a look.  Cross your fingers and toes and hope that this new adventure is a good one.

This is where you will find  the "Give Away"   .... but please join the band of followers,  leave me a comment and no duplicates please as they will be removed.

Hugs xx


February 04, 2013

Baby Blue

Hi Everybody,

A couple of days ago I showed you a baby card in pink that I had made for a friends new daughter.

Well here is the same type of card but this time in blue and I have done a video tutorial on how to make it....Spellbinders Grand  Labels 4 will show you how.

Click to Enlarge
It makes a beautiful design that can be adapted for any occasion.

Just think how lovely this would be as a Wedding card with the Bride and Grooms names  on one of the panel along with the date.

The stand is from Joy Crafts ans there is a tutorial  Creating Card Stands   with a link directly to Ebay to buy them.

I have used Centura Pearl from  Crafters Companion  for the base page and embossed it.

The other card is from Inspirations  which is based in Preston.

I have used the same Baby Feet embossed card on this one and used it for the box lid too... and there is a video on   Making Boxes

The Corsage is made with  flowers are from Wild Orchid Crafts  and it is a mixture of Roses, Tulips and  Cherry Blossoms and they have been sparkled with Glamour Dust.

And here is a real close up of the flowers.

After the video was completed I decided to add in the silver baby charm.

Just need a boy baby to send it too now !!

And if you are looking to join in the "Give Away"    
then click this link... 

But you will need to be a follower AND leave me a comment please.

No follow ... No comment ... then sorry but  NO WIN !!


Hugs xx

February 03, 2013

Ist Birthday ...

Hi Everybody,

Today sees the first Birthday of Flowers, Ribbons and Pearls ... and what an exciting year this has been.
Click to Enlarge

I have had so many surprises since I started this blog and I never expected to have such lovely followers. 


So to celebrate the date I am having another
"Give Away"

The lovely people at Fantastic Ribbons  have very kindly donated some Ribbons and Buttons for the prize.

They are in the centre of the photo and there are five reels in the pack that are ideal embellishments for your cards.


And please pop over to their website and add your name to their mailing list for the chance to win £100 worth of Ribbons of your choice.

To the prize I have added  6 packs of beautiful  "Bling"  from Want2Scrap  that are Flourishes, Hearts, Gemstones and Swirls.
 
You will also find  7 metres of  different braids  for you to use ... along with some  felt shapes,  charms  and  buckles.
 
There are also some Handmade Butterflies, and  Handmade decorated Hatpins and I have also thrown in two Blenders.... with the  necassary pads.
 
Altogether a good mix of things that you can use to adorn your cards or any project.
 
Over the year your names have become familiar and I now know the people  that visit regularly and leave me comments.
 
I am changing the rules a little so that YOU ... the special people  have a better chance of winning my Give Aways
 
So from now on I would like you to become a follower ...  if you are not already ... and leave me a comment if you want to be in with the chance to "win"
 
Please don't join just to win the prize because it is designed to be a special gift for the regular visitors to the Blog.
 
And as I always ask  please don't add your name more than once ... the duplicates will be removed and that way everybody has the same chance.
 
I hope it doesn't offend anyone ... that is not my intention.  I am just looking to share some pretty things with my followers.
 
If you don't have a Blog just leave the URL box BLANK but add your name and email so that you can be notified if you win.
 
Good Luck xx


February 02, 2013

Challenge Time ...

Hi Everybody,

It's that time again for another challenge over at Paper Creators  and this time the theme is for Circular Easel Cards.

These are very easy to make  from the Easel Kits and the one I have done is edged with a scalloped frame from Spellbinders.

I have decoupaged the layers to the birds using Pinflair Glue Gel to give it some height.

The  flowers around the edge match the flowers in the topper and they are from Wild Orchid Crafts 

They are a mixture of roses, cherry blossoms, and small daisy like flowers and all have been glittered up with Glamour Dust.

The Pearl flourish is from Want2Scrap

The stopper for the Easel is created from one of the sentiments on the sheet and it says "You are my favorite Chick"

Why not pop over to Paper Creators and join in the challenge. You could win £10 to spend on some of the "Goodies" from the shop.

Hugs xx

February 01, 2013

A Baby Girl ...

Hi Everybody,

Click to Enlarge
I have made this card today for a friend who has just had a baby girl.   I can't resist  baby cards especially  for  girls when  I can go to  town with the  ...  Flowers, Ribbons and Pearls.


This  is right up  my street and I really enjoy making this type  of card.

So here is my card to  welcome the  new baby.

I have made it to a book style and I have used the Grand Labels 4

I have cut a page from each of the four largest dies all in different card... and another layer of lace in between the fourth and third layers.
The cream card has baby feet embossed into it.

The other layers have also been embossed and a double layer of pink and white braiding has been added to the centre.

The pink bow at the top has a small pearl heart buckle and the charm is a baby shoe in silver.

The flowers from Wild Orchid Crafts  are a mixture of  Roses, Cherry Blossoms, Carnations and Tulips and all have been glittered with Glamour Dust.

The leaves have been cut from the Foliage set from  Spellbinders.

The Butterflies  I have used are Organza with glitter on the wings .... very pretty.

I have added the flower corsage to a Labels 20 shape and used the matching pearl   "Bling"  from Want2Scrap

I have also added the babys' name and birth date to the same kind of label and added in the pearls again.

I have made a card stand in cream to display it ... and of course it has to have matching box.

The box lid also has the baby feet embossed into it.

If you want to make a box to match your cards you will find the instructions in the tutorial
Making Boxes


Hope you like ....

Hugs xx

January 31, 2013

A small request please ...

Hi Everybody,

A little while ago I told you about a company that sells "Close Out"  Spellbinders for a really good price.

Well they have now just started a Facebook page which will show you all the new Spellbinders ... as they come in ... so that you will be the first to know of what's on offer.

Scott ( the owner) is going to update the page regularly to keep you all up to date.

He is trying to get  to 1,000  likes in the next few months and I wondered if you would pop over there and see what he has .... click the "Like"  button and make it happen sooner for him.... especially if you have bought dies in the past.

Save On Hobbies   is the website and over the next few days he has some news Spellbinders coming in ... so keep on visiting and then you won't miss them because as they are "Close Outs" once they are gone they are gone.

Hugs xx

January 30, 2013

Jewel Box Saga ... Finished

Hi Everybody,

Here is the finished Jewel Box and I am so pleased with the result. It is going to go on the dressing table in my guest room and I will look at it and think ... "I did that..."

Click to Enlarge

And for those of you who have thrown similar boxes away ... shame on you.!!!   

You'll be going to car boots in the summer now looking for another ... I know I will.

This is what I have done to finish my box ...


Once the varnish was dry I put it all back together so that I could see where I wanted to add my embellishments

You can see that the interior has been stained a beautiful shade of blue and I have added white lace to the sides of the doors and the drawers.

I have put back all the original hinges,  knobs and handles and only replaced the broken hinges to the lid.

On the lid I stamped the same swirl and then added silver Gilding Flakes.

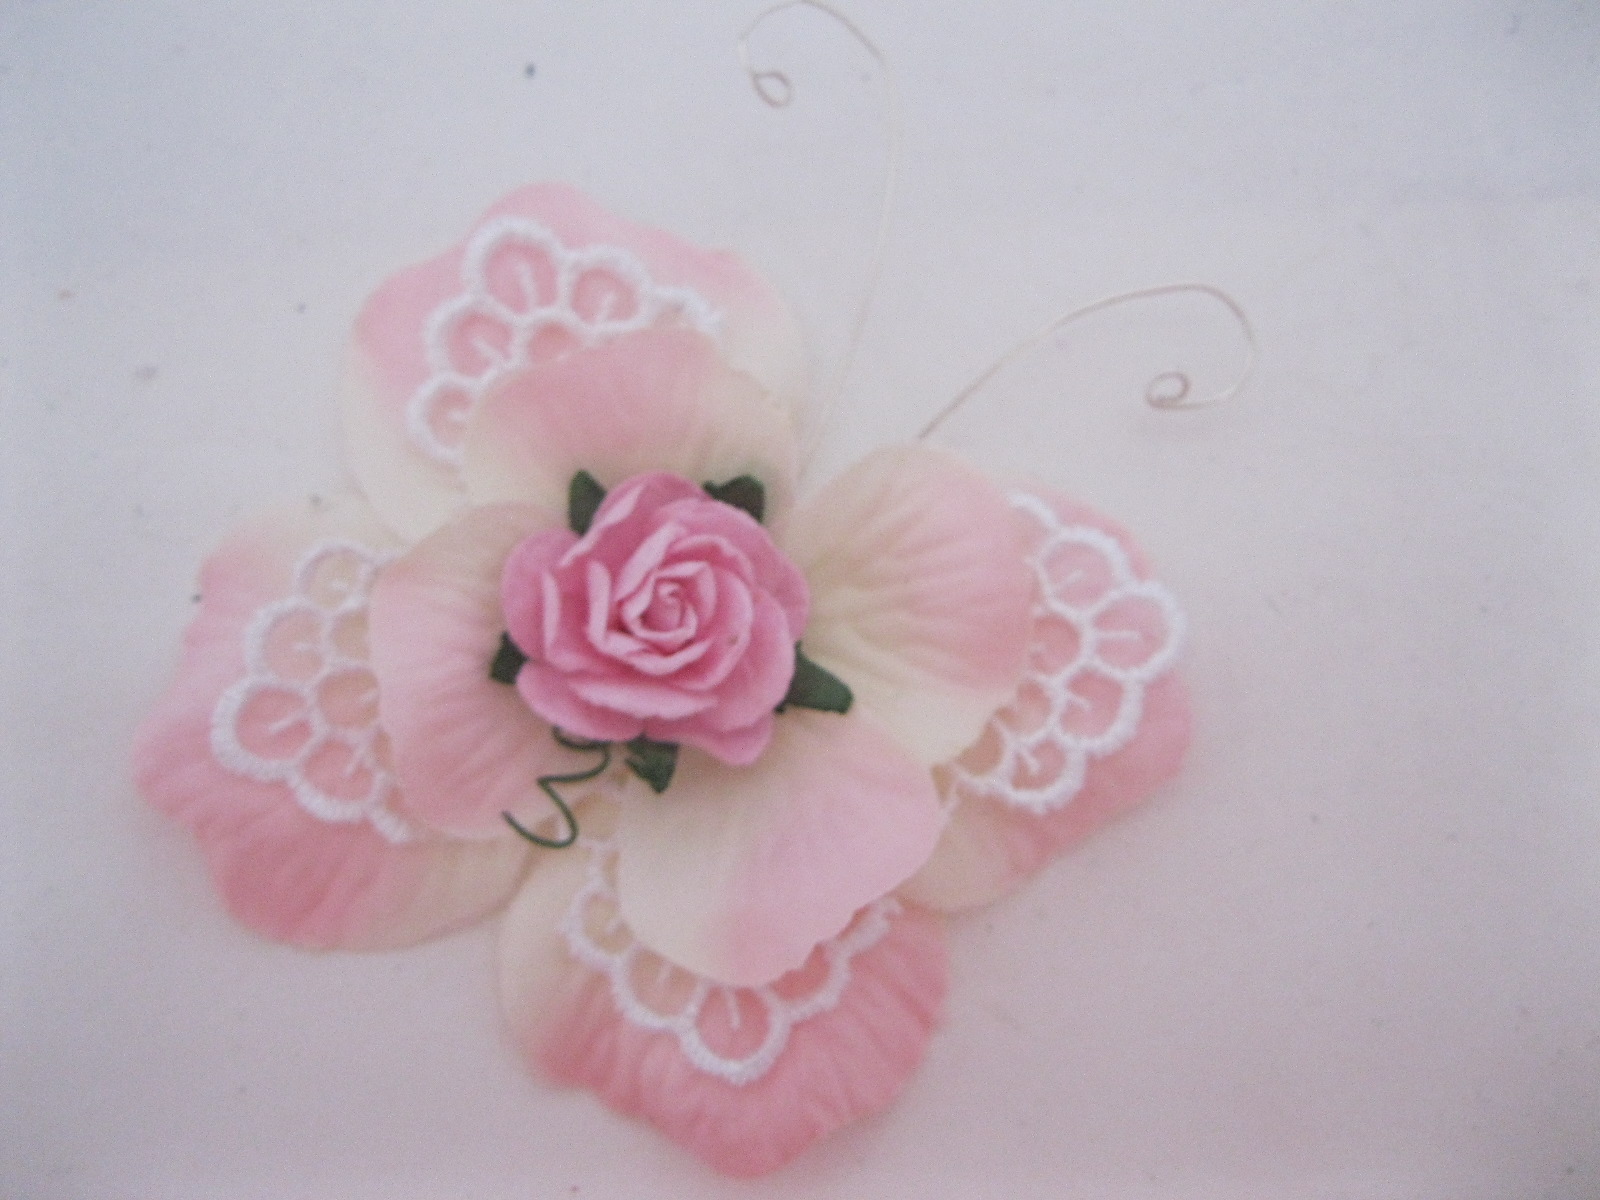
The Corsage on the right consists of Spellbinders Foliage leaves and a mixture of flowers from
The large butterfly is a Marianne Creatables and I have added a Diamante strip to the body and for the butterfly trail

This is the right hand side of the jewel box and I have used Spellbinders Les Papillion butterflies and done the same thing to each of them.

Around the edge of each door, along the top of the lid and along the bottom edge I have added in some matching blue trim.

I added it under the door fastenings to make it look neater. 


 The left side has been treated the same way ... and using Diamante for the trails.

The braided trim can be seen clearly around the edges.

I found the little navy blue tassel in my "Stash"  and couldn't resist hanging it from the top knob.
On the drawer fronts I have added in a large  Diamante Frilly Flourish from Want2Scrap

I simply stuck it in place and then used a craft knife to separate the gemstones so that the drawers would open.  

That way the pattern stays in line and all I needed to do was tidy up any tiny gaps.

It looks much better in real life.

 Although a photo is a brilliant concept it can never portray the real beauty of something.


I don't mean to sound conceited but I really am proud of this little work of art.


So there is the finished Jewel Box.

And for the lady on YouTube ... who left me the comment saying that she thinks  I add too much "Bling" to my designs ...Well look away now 'coz this is serious overload ...

It will surely offend her sense of keeping it simple ... but I love it !


 And not to leave the back plain I have also decorated that too.

I have cut some trellis and a butterfly and added them along with some leaves and flowers into the recessed panel that was at the back.

The braided trim can be seen along the back panels too.

And to go a step further I have even glittered up all the flowers with Glamour Dust.

Thank you for your interest in this project and for leaving me your comments ... it is much appreciated.

Got to find another jewel box now and start again ... and although I didn't film this one ...  I promise I will for the next .... soreeeeeee !!

Hugs xx


January 29, 2013

Jewel Box Saga ...Pt 4

Hi Everybody,

In the last stage I added all the patterns that I wanted on my jewel box and left it to dry.

Although not shown in the photo I have repeated the process on the two side doors and the lid.

Today I have been back to it and given everything a coat of clear satin finish varnish  and then left it to dry again.

That will protect everything from some wear and tear.

Tomorrow I will put it all back together and add all the "Bling" that I want to add.

So while I am waiting for it to dry I have been busy making some butterflies from flower petals, lace and beads.

They are about 7cms long but they are much prettier in real life than they look on the photo.

I can add these to cards or any project where a butterfly is needed.

This one has white feather added to the back of it and one small rosebud in the centre.

I have curled the antennae from some silver wire, and cut up a small piece of lace that I had in my stash.

It is a good way to use up all your odds and ends and here is a tutorial on how I got the look.

Making Butterflies  is the written instructions but I will have a video out soon.

Click to Enlarge all the photos
This one has the addition of a little sparkle to the wings and i think they look very pretty.

More on the jewel box saga tomorrow.

Hugs xx

January 28, 2013

Another Altered Art Project

Hi Everybody,

This is another Altered Art project and this is for my daughter ...(the one throwing away the jewel box ... how could she???)

Click to Enlarge the photos
She has an empty box that had some hair straighteners in it and because it was quite a large  she wants it  for storage in her bedroom.


This is what I have done to it and I hope she will like it when she gets it back.

I have kept it pink as the box itself  was in good condition.

But I have got the Spellbinders to work on the top of it in several layers.

The Spellbinders used will be  BOLD so that you will know what has been used.


I have added a base of Snow White Centura Pearl from Crafters Companion  to the lid.

I cut it with a fancy edge to be just a little smaller than the pink lid ... so that  it leaves a narrow border.

Then I have cut two of the Romantic Ovals in a matching pink card and laid them to cover the top.


I cut the Second smallest of the Grand  Decorative Ovals  in  the white and added it with foam pads.

Then a layer of  a plain oval in pink with the largest die from the Floral Ovals layered on top of that.

The Fancy Tags 3 has been cut in pink and white and layered to give a shadow effect and then the matching Pearls from Want2Scrap  are added.

I have used some beautiful pink flowers from Wild Orchid Crafts  and added Glamour Dust to the petals for extra sparkle.


The Decorative Hatpin  and the pins are from the Sparkles Group and if you add in the code CGDIS5  you will get an automatic discount at the checkout.

On the right hand side I have made a butterfly and used some more pearls to create the butterfly trail.

Small pearls have been added to the corners  and I think that this is a very pretty  addition to any bodies dressing table.

Hugs xx