Beautiful Card Designs Made Easy

October 21, 2017

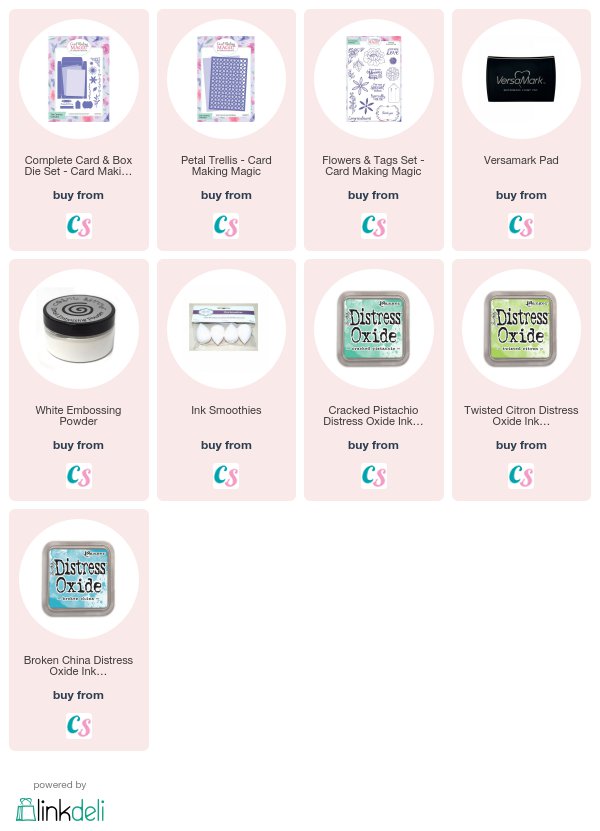
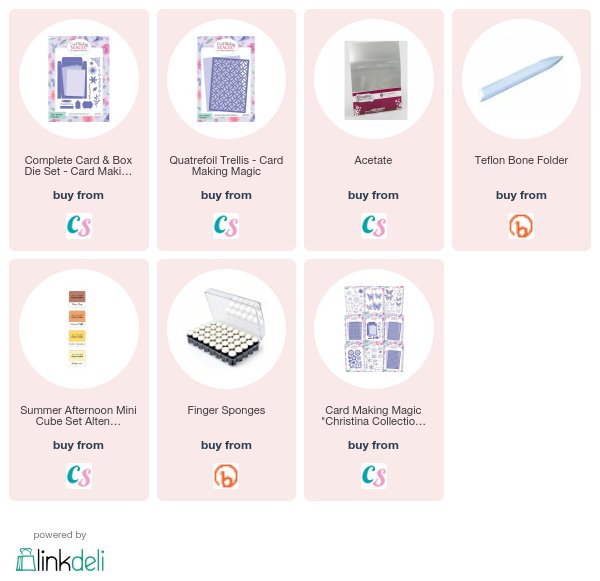
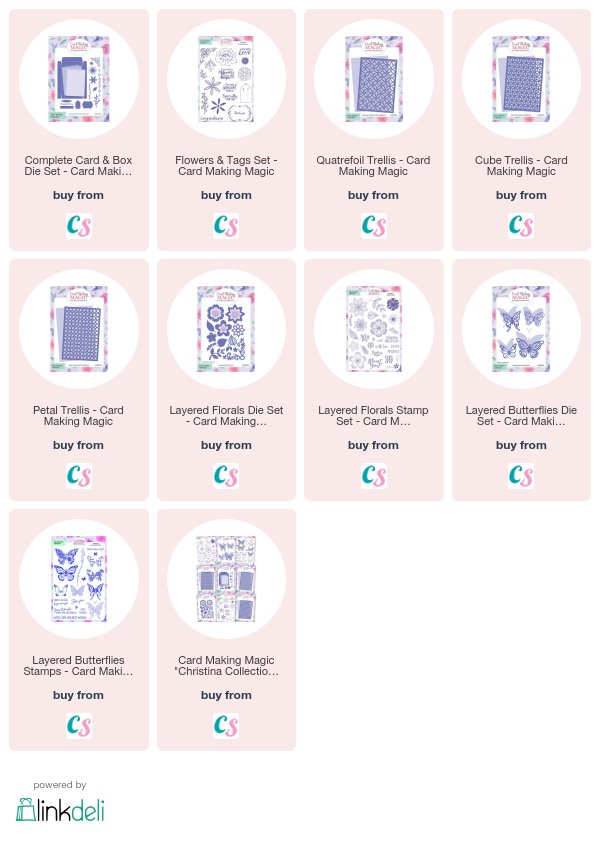
Inked Card and Box - Christina Collection

Hi Everybody,

 Today's card is using the Complete Card & Box Die Set but adding some customising to both.

You can make this as unique for your own recipient as you wish

I have used the stamps from the collection to add greetings all over the box.

The video will show you how to achieve the look 


There are so many ways that this can be used and the dies will save you a lot of time measuring

With new vidoes I hope to show you just how much fun you can have with this new collection.

You can get a 10% discount on all the elements if you add the code 
WOWCMM10 at Craft Stash checkout

More tomorrow ...

Hugs xx

October 20, 2017

Yellow Floral Card and Box Die Set


Hi Everybody,

This is a most exciting time for me and so much has happened in the last few months. I am in a whirlwind since I have had the opportunity to launch my own brand of dies and stamps.
 Craft Stash came to talk with me a while ago and here is the link to that if you wanted to read the full interview    Launch "Christina Collection"
Today at 10am I will be on Facebook “live” with Craft Stash 

Yesterday to tell you exactly what the box die will help you to do quickly I added a video that showed you two different ways to create them

And although the original idea was for the cards you make with depth to them there is no limit to the uses you can put these boxes too.

In that video I  filled mine with tea lights to give as a gift over the coming Christmas Season.

But you could add soaps. perfumes, scarves, handkerchiefs or any small toy or book for a child.  

Then once you know how to make the boxes  you can decorate them as you like and why not go ahead and create the card to go with it.

This set has used only the dies that are in the pack and I think the results are just lovely.


Yellow Floral Card & Box

The collection is exclusive to. Craft Stash and they are offering a 10% discount if you enter the code WOWCMM10.    If you are having trouble with the code then contact Craft Stash customer services

More tomorrow ...

Hugs xx


October 19, 2017

The "Christina Collection"

Hi Everybody,

I have been crafting now for quite a few years and I have had this dream for a long time to bring out my own collection of dies, stamps and stencils.  And I am so excited to tell you that my dream has come true. This is the first wave of new goodies that I will be bringing to you and they are being launched a day early from Craft Stash and they are offering you a 10% discount if you enter the code WOWCMM10  at the checkout

This is the news I have been waiting to tell you about.  Today my collection of dies and stamps will be on sale for you to buy. And I am so happy to be able to show you and tell you all about it

I have been so busy making videos and samples to showcase my collection and this one will explain to you exactly what it all does.

I really hope you enjoy the video and that you may want to make your own beautiful cards complete with their matching box.

Don't forget to add the discount code WOWCMM10 at Craft Stash

I will be doing lots more videos featuring all the parts to my collection and so please join me to see more of what you can do with these dies and stamps

More tomorrow ...

Hugs xx

October 18, 2017

Magazine Freebie Videos

Hi Everybody,

So today I have two vidoes for you to view.
 Simply Cards & Papercraft 169 and Papercraft Essentials 152 and both will be on sale on the 19th October.

I decided to keep these cards really quick and easy to do as I know that some of you make lots of them to sell for Charities.

They are just as pretty though and so I hope you will enjoy the process.

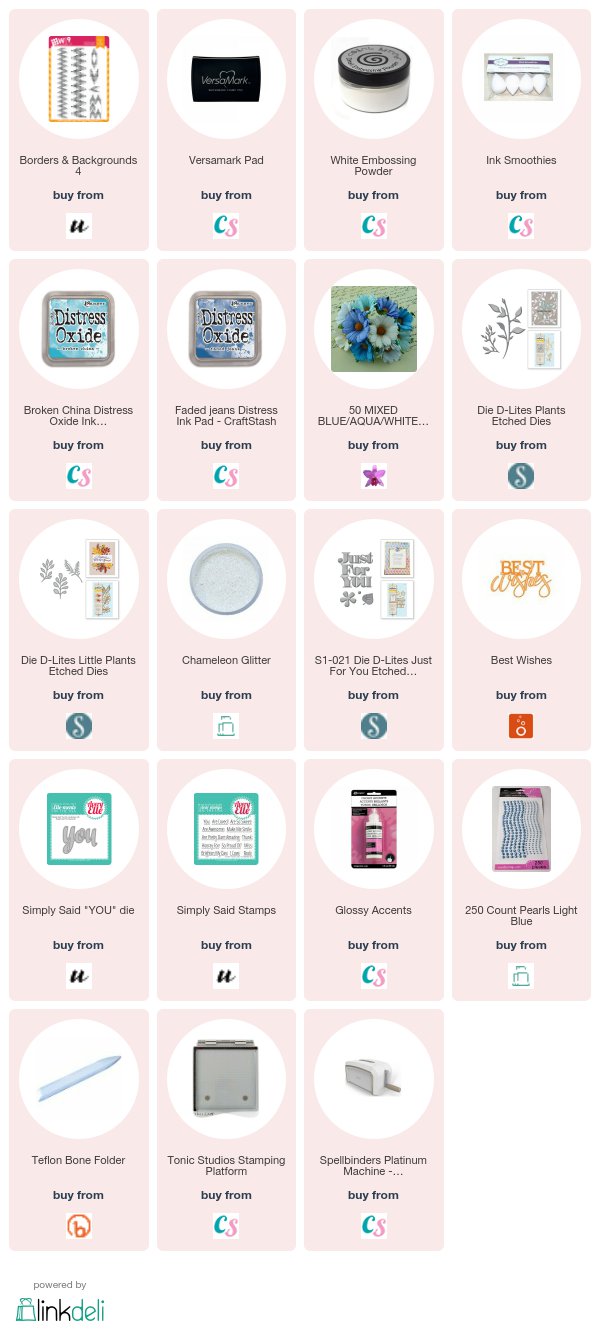
The supplies are listed at the bottom of the page for you to see.

This one is simply silver embossing powder which brings out the design in the stamp really well

What could be easier when you have lots to do. 

The video will show you how these two are made
Simply Cards & Papercraft 169 - Hunkdory
The second video is for Papercraft Essentials 152 which will be on sale on the same day and this is the really cute Penguin die set

And if you have either of these magazine then the
 "Cat is out of the Bag"
as you will have read the article in there about my new adventure ... and I will tell you all about it tomorrow


Hugs xx

October 17, 2017

Tuesday Tutorial - Rouge Royale

Hi Everybody,

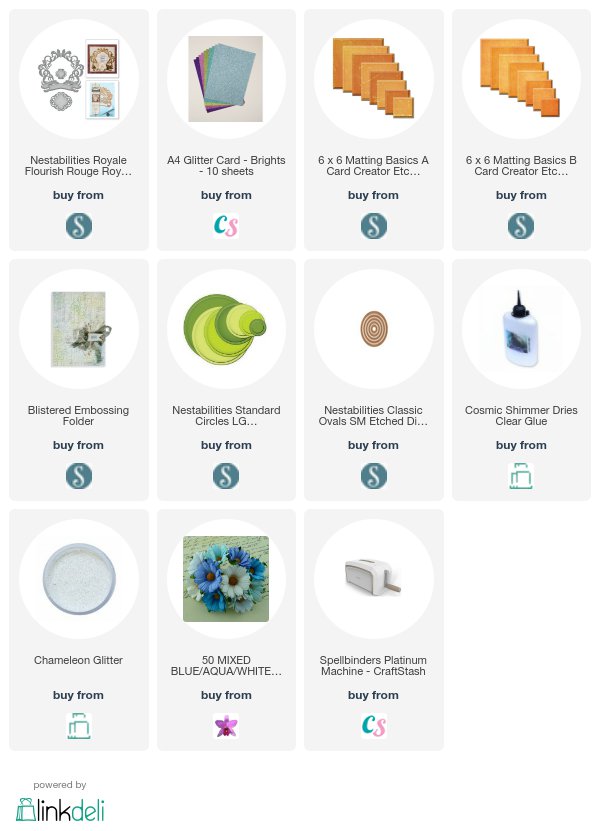
Glitter cards is used on today's card for a really sparkly effect that was quick and easy to make. The addition of the flowers takes it to another level and it would suit many occasions
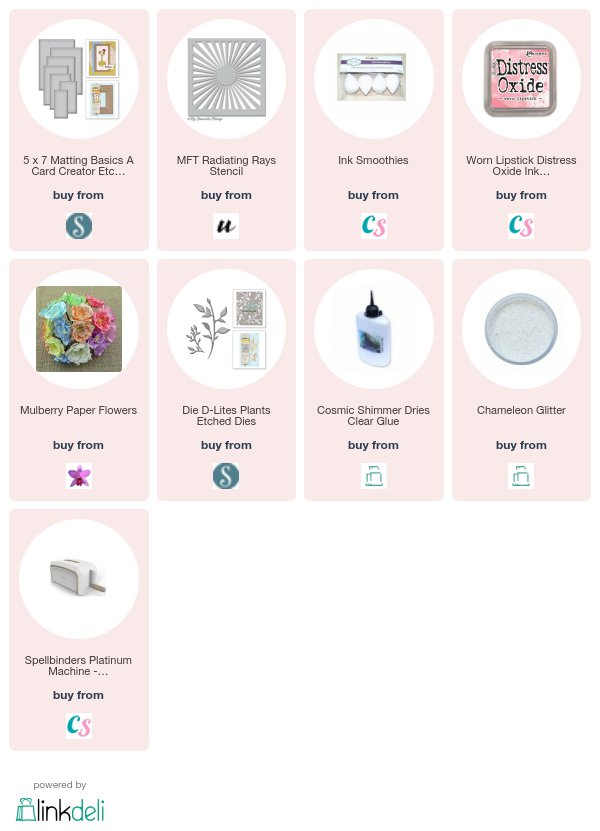
Spellbinders Supplies:

  • Rouge Royale Flourish
  • Standard Ovals
  • Standard Circles
  • Blistered Embossing Folder
  • 6x6 Matting Basics A and B
  • Platinum Die Cutting Machine
Other Supplies:
  • Glitter card
  • Flowers
  • White Ribbon
  • Button from my stash
  • Birthday Stamp
Instructions:
With die #8 Matting basics A cut two pieces in white to create the base card.
With die#8 Matting Basics B cut another in white and emboss in the folder ... moving it along as needed
(Die #1 is always the smallest)
From the Glitter card cut the largest Flourish die
Cut a white oval from the largest and the next die down in Glitter card
Stamp the sentiment and cut with a circle
Add to the card front as shown and wrap with ribbon wrap with white ribbon before adding to the base card.
Add the other elements with foam pads underneath adding a little extra wet glue when adding the layer to the Glitter Card
Choose the flowers. I have used from left to right:
Roses in two colours and two sizes ... Anenome ... Tulips in two shades
I added them with a glue gun.
Dot with wet glue and sprinkle with glitter 
I added a bow and placed a button over the knot 

More tomorrow ...

Hugs xx

October 16, 2017

More White Embossing

Hi Everybody,

Here is another of those white embossed cards that I made a few weeks ago and I really like the effect.

It stands out and it is very tactile. And of course for me the flowers make all the difference.

They are a mixture of Roses, Tulips, Rose Buds and die cut leaves. All sparkled up with glitter.

The word YOU has the addition of Glossy Accents to it and shows up well on the photograph.

This is a technique I will be using again and it is very easy to do. I may even do a video on it to show you how I did it.

It will take me a little while because at present my time is taken up and all be revealed soon as the launch date has been brought forward to Thursday

So to keep your interest here is another sneaky peak of what is to come... and I can't wait to share my good news with you all

More tomorrow ...

Hugs xx

October 14, 2017

Card Winner ...

Hi Everybody,
This has been a really busy week for me and I will have some truly exciting news to share with you all next Friday and this is just a sneaky peak of what is coming up.

More about that next week and so I hope you will join me then and take part in my excitement.

For now the draw for the Happy Hooves Die & Stamp set along with a card I made for that video has been done and the name today is YOU

Heidi

would you email me please your postal address to 
christina@card-making-magic.com
and they will be on their way to you straight away.

More tomorrow ...

Hugs xx

October 13, 2017

Friday Freebie - Happy Hooves Card & Gift 2

Hi Everybody,

This weeks offer is for the Happy Hooves Die and Stamp set along with one of the cards from the video

Happy Hooves  shows you several ideas and it is such a lovely set to work with.

There are many combinations that you can come up with from race horses to fairground ones.

You can even turn it into a Unicorn if you wanted too

So would you like to have this set??

Then all you need to do is leave me a comment at the end of the post and then come back over the weekend to see if you are named as the winner.

You will have 72 hours to claim them after that they are gone away but will be offered again if not claimed

Next week I have some really exciting news to share with you so there will be no Friday Freebie for one week only.  Please come back next week to find out what all the excitement is about

More tomorrow ...

Hugs xx


October 12, 2017

Water colouring with Louise ...

Hi Everybody,
A very late post from me today but I have been really busy. I thought I would share with you this water colouring session I had with Louise from Craft Stash who came over to my house a couple of weeks ago.

We had some great fun doing this and this is the film that was made of the session.
 I hope you enjoy it as much as we did.
And the little hint at the end of the video of something soon will be here shortly ... watch this space

More form me tomorrow ...

Hugs x

October 11, 2017

Creative Stamping 49 - Christmas Sparkle

Hi Everybody,

The new Creative Stamping magazine will be on sale tomorrow and there is a huge A4 stamp set with it full of beautiful Christmas images for you to colour

In the video I have tried to show you that you can use this set for birthdays too and so it would make lovely winter cards for any members of your family and friends


The video shows me using some Cosmic Shimmer Iridescent Pigment and I have had this for a long time.

 So little is used each time and it goes a long way. The little applicator brush comes with the pots and there are six different colours in the pack.

It gives a really shimmery look to your cards and is so quick and easy to use.

I hope you enjoy the video 

More tomorrow ...

Hugs xx

October 10, 2017

Tuesday Tutorial - Eliza Lace Corners

Hi Everybody,

Today's card is a really pretty A2 size in pink and white. Perfect size to send in the post and will fit a standard sized envelope. Add any sentiment to the front that suits your occasion and send with love.
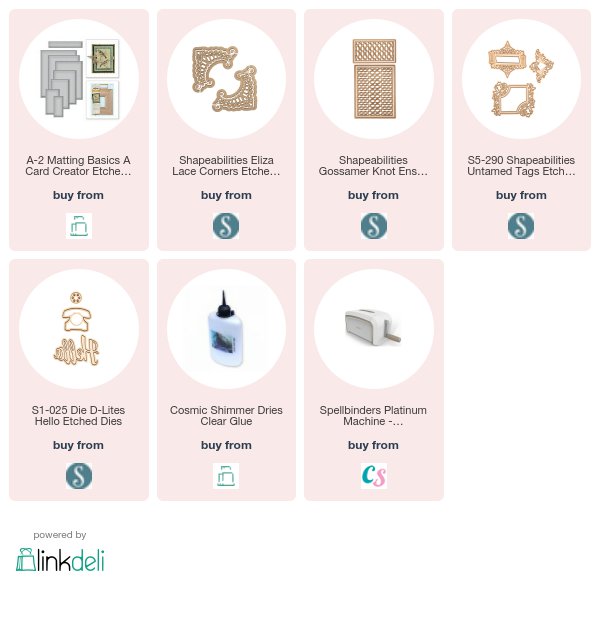
Spellbinders Supplies:
  • Rebel Rose Untamed Tags
  • Eliza Lace Corners
  • Gossamer Knot
  • Hello sentiment
  • Embossing Folder
  • A2 Matting Basics A
  • Platinum Die Cutting Machine
Other Supplies:
  • Cosmic Shimmer Dries Clear Glue
  • White & Pink card
  • Docrafts Liquid Pearl drops
Instructions:
With the largest die from Matting Basics A cut two pieces to create the base card
Hand cut a slightly smaller panel to leave a small border around the edge
With this panel add the inner cutting dies from the Eliza Lace in each corner
Then add to your folder and emboss
With the smallest Gossamer Knot cut one panel in pink and one of the tags also
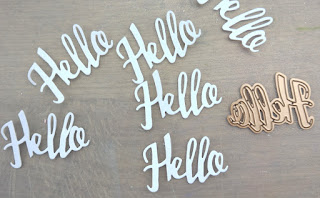
Cut "Hello" several times in white and stack them together
Layer up all the die cuts to the front of the card and dot with some liquid pearls
Set aside to dry.

More tomorrow ...

Hugs xx

October 09, 2017

Laminated Pockets

Hi Everybody,
Here is another of the cards made with a Laminated Pocket for the backdrop.

I showed the technique in a video
 last week and it really is easy to do.

This is created in the same way but with flowers added to it instead.

The lamination pockets are from the £££ shop and there are ten in a pack  and the sequins have hundreds in a pack and come in other colours
So it's worth investigating your local £££ Shop as you will find some bargains in there if you look carefully

I created a frame to surround my pocket and then dotted some pearl liquid drops onto the front ... also from
 the £££shop !!

I edged the frame with a stencil and then dotted the flowers with glue and glitter.  Quite a pretty effect once I had finished and allowed it all to dry.

More tomorrow ...

Hugs xx


October 07, 2017

First Card and Gift Winner

Hi Everybody,

Thank you so much to everybody who took part in the first card and gift "Give Away" I wish I could send the Little Bird to everybody but sadly I only have one set to offer. 

There will be another gift and card on offer next week and to see what is going to be given take a look in the winners page in the sidebar to the left.

But the first one is going to you ...

Diana Lawton
would you email me your postal address please to
christina@card-making-magic.com
and they will be on their way to you straight away

I hope you enjoy the gift and make some really pretty cards with it.

More tomorrow ...

Hugs xx

October 06, 2017

Friday Freebie - Little Bird Card and Gift 1

Hi Everybody,

From today until Christmas I am giving away one of the freebies that was attached to a magazine.

I will also add the link to the video that shows you some of my ideas with each gift

This is the first one and this is Little Bird.

I will also be sending you one of the cards that was made for the video. 

All the gifts are quality products and you will have fun playing with them

So if this is something that you would like then all you need to do is leave me a comment at the end of this post.

From those comments one name will be chosen and added to the weekends blog post. It is down to YOU to come back and check if it is your name listed and then you will have 72 hours in which to contact me.

Should any of the gifts not be claimed I will simply tag them on at the end and offer them again

Good Luck

More tomorrow ...

Hugs xx


October 05, 2017

Butterflies & Lamination + Sequins !!

Hi Everybody,

Today I am sharing a card that has a laminated background behind the butterflies and it was really easy to do.

The laminating pouches are not expensive.  I got mine from the £££ shop and there are ten in the pack .. Cheap as Chips !!

The sequins and glitter I had in my stash and so I had fun making this card.

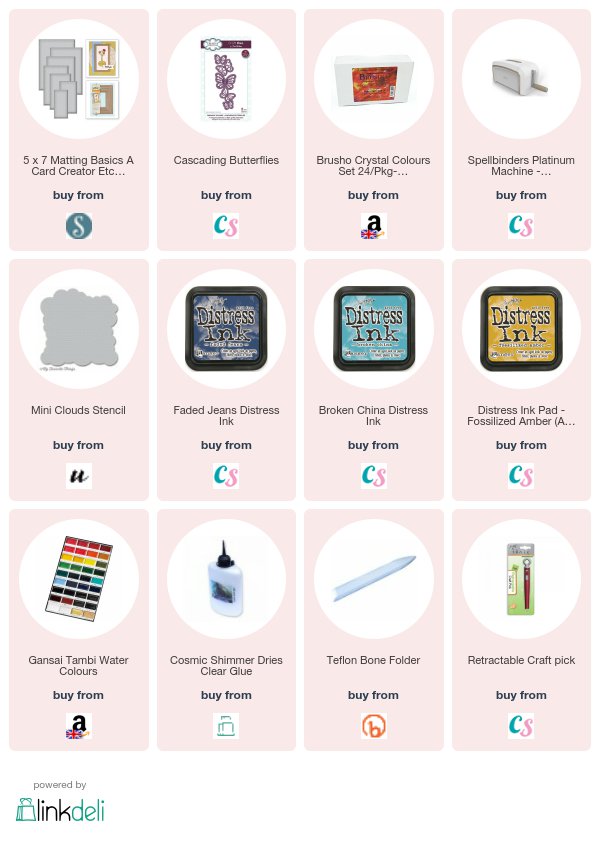
In the video I take you through each of the steps needed to make it and the supplies are listed at the bottom of the page for you to see what I used

Butterflies and Lamination   is just long enough for you to have a cuppa and maybe a biscuit or three

Each one of the cards has used the die cut aperture piece on another design

You just need to plan the background so that it will work with the second card

But using what is in effect the waste saves you time and money if you make use of it.

Have fun

More tomorrow ...

Hugs xx