Beautiful Card Designs Made Easy

Showing posts with label Video Tutorials. Show all posts

August 16, 2023

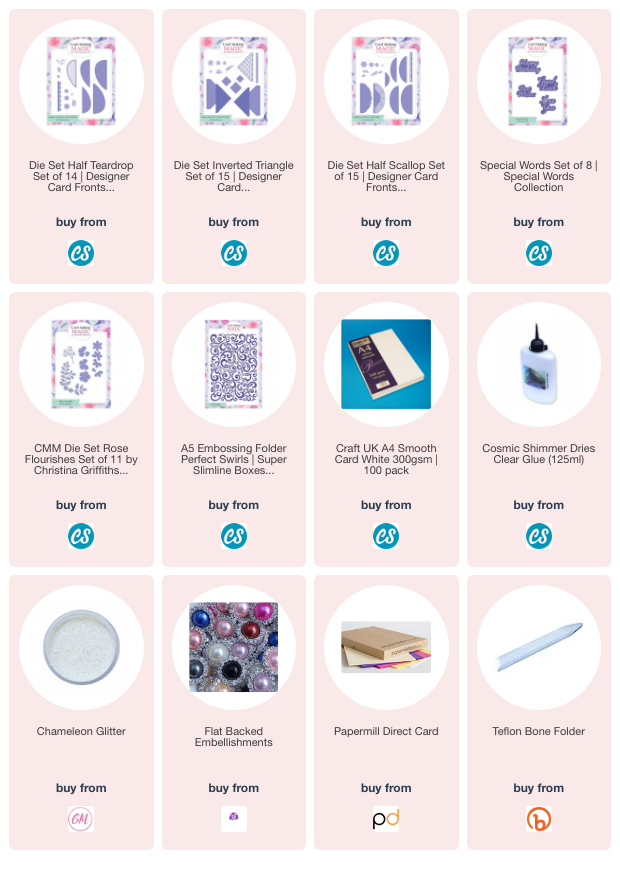
Alternate Stitched Squares

 Hi Everybody,

This was a collection that was added a while ago and I have just added a vidoe to YouTube and Facebook using the square from the Collection.

I have created a very quick and easy card with the layers from the set and added a frame to go around the panel. 

It took very little time to make the card and it is a good one to have handy for those last minute makes that people ask you for.

The video is not long either so no time to get bored with it, but I hope you enjoy it just the same.


Once again it is another opportunity to use the older dies that you may have in your own collections and put them to good use.

More tomorrow ...

Hugs xx

August 08, 2023

Wax Seal Shapes On Cards

Hi Everybody,

Many years ago I did some Air Dry Clay modelling and made loads of things for home décor. 

I bought some decorative molds to use with the clay and I enjoyed playing with them. But they have now sat in a cupboard for quite some time and never ben used.

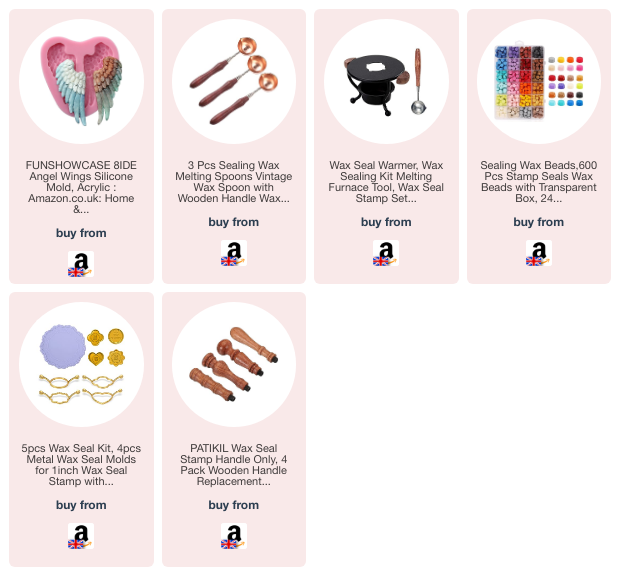
So I thought it may be a good idea to see if they could be used with the wax melts beads that I have got and the answer is YES !!! they do.

I  used the Angel Wings mold and I was very pleased with the result. And I thought of lots of ways in which I could use them on my cards.

They make a beautiful addition to a new baby card as they are surely angels come back to earth.
I made some in pink and even more in a blue for a baby boy.

You can of course make them any colour you would like, and the silicone mold is so cheap to buy. It will last you for ever.

I did get some molds at the time that would make little picture frames and corners that could be added to a card but I have yet to find them.

They are in a tin somewhere ... I just don't know where ... yet !!


I also thought that the wings could be used to effect on a sympathy card and I kept the colours very muted for this one.

It is a DL card and I have embossed the background then matted and layered the white and navy blue togehter.

I know we don't like to make sympathy cards but at least this one is pretty as well as practical.

More tomorrow ...

Hugs xx


August 01, 2023

Rainbow Wax Seal Cards

 Hi Everybody,
I have been playing again and this time I have been creating a rainbow look with my wax seals.

I bought some more beads from Amazon in Matt colours and they came the day after I ordered them at a really good price too.
I also got some more spoons so that I could melt things a little quicker

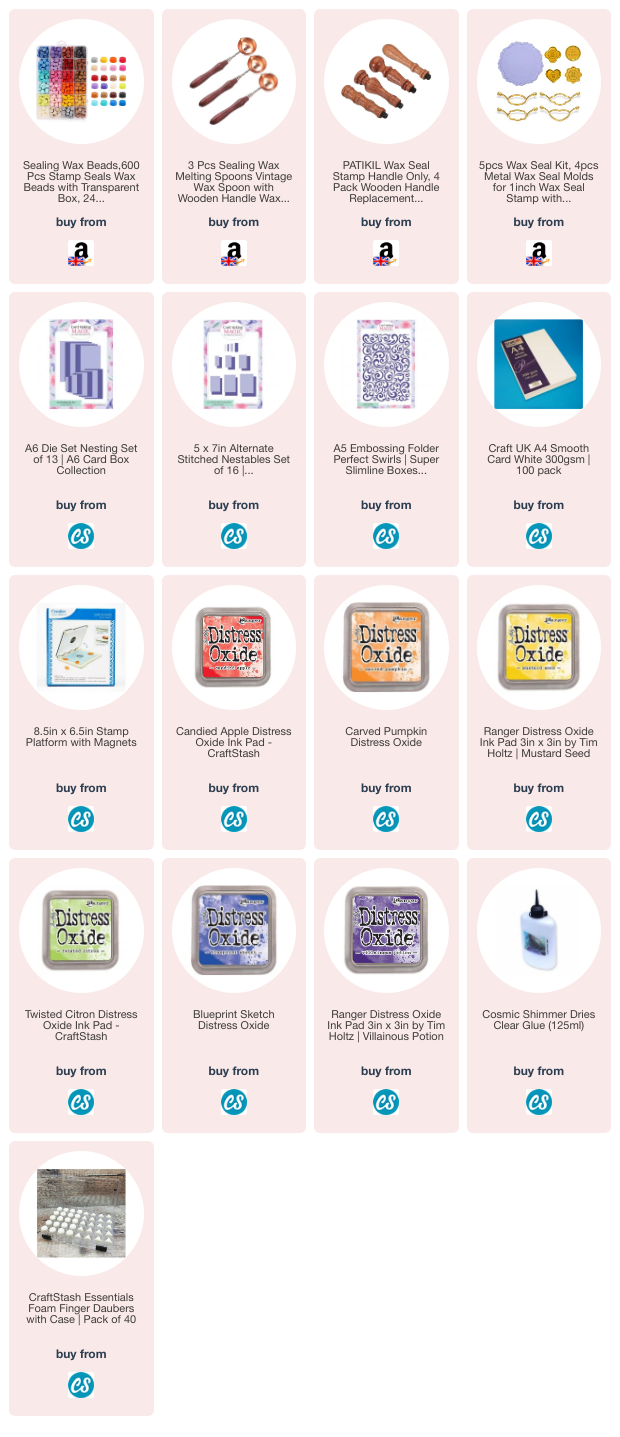
I have included the links to the items that I got from Amazon in the list below.

The stamps I have had for donkeys years and although I have searched online for them I cannot find them and so they may no longer be available.

But you can always make ink blobs yourself or use any stamp that you like to create the look.


I have another idea that I will share with you later this week again using the wax seals and I will use the new spoons that I bought as they have a lot deeper pan to them ... which I will need for my next attempt with them. 

More tomorrow ...

Hugs xx

July 17, 2023

Varied Border Dies

Hi Everybody,

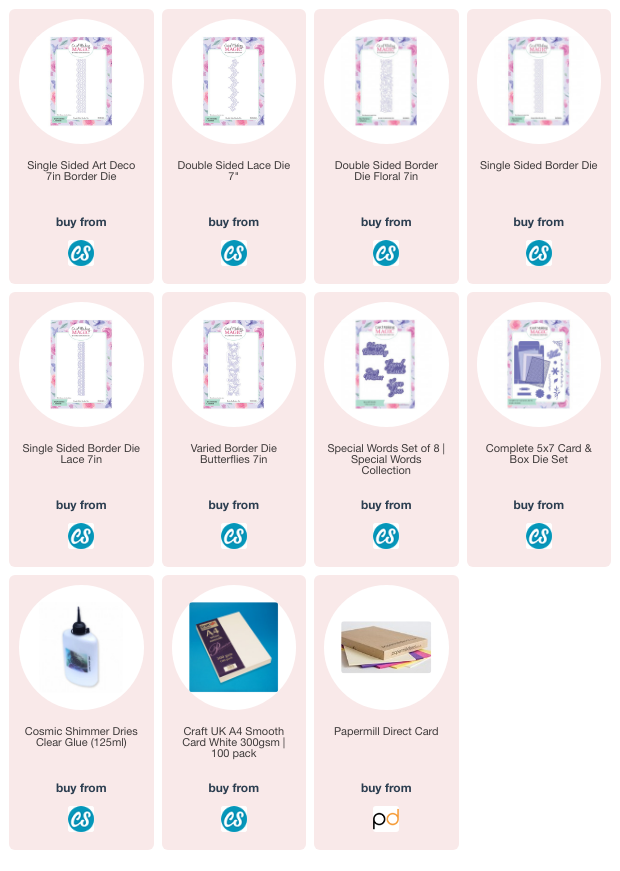
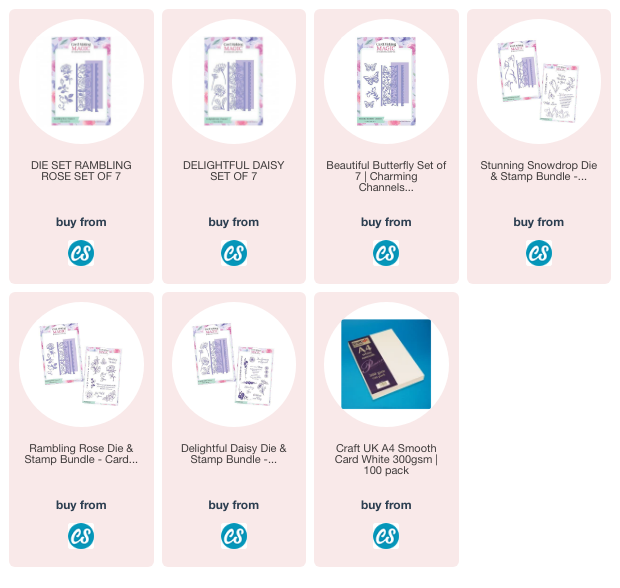
Here is another card created using a border die and this one is the Butterfly Varied 7" Border Die set.

It is one I have shown before but as I was on the subject of border dies it seemed appropriate to share it again here.

I also had a video to show the creation of this card and others using this die set and I really like the end result.

Hopefully over the last few posts I have re ignited your love for border dies and shown how versatile they can be, and inspired you to get any that you have out again and put them to good use.

I am sure that you will think of other ways in whcih to use them once you start to play.


But whichever dies you decide to play with just have fun and let the creative juices flow.

More tomorrow ...

Hugs xx

June 27, 2023

Floral Cards & Older Videos

Hi Everybody,

I was looking back over some older videos that I have on YouTube and I came across many that I still like.
And adding flowers was one of them.

It is something that I am often asked about and so that was why I made these videos many years ago. 

Can you believe that it was nine and ten years ago that these were made.

They were filmed by Griff and the style is so different to how I now make them, and I am sure you will be able to see the differences for your self.

Whatever the flowers are ... mulberry, silk, flower foam, paper or parchment the same principle still applies.


One of these videos shows how I made the corsages that I used to add, and sell, on my website and the other how I add a flower display to my cards.

The top card has used Mulberry Flowers but this one to the right is crated with paper flowers that I made my self.

This was also a video but one that I had started to make for myself in 2018 and it was a collaboration with Christine Smith from Crafti Potential. 

If you like to add flowers then maybe there is something that could be of interest to you.

And the cards turn out really pretty in the end.

More tomorrow ...

Hugs xx

June 22, 2023

Designer Card Front Dies

Hi Everybody, 

Today I am using an older die set and this was part of the Designer Card Front Collection released some time ago now.

I did several videos using these sets and thought it was time to ad another to the mix.

The colour scheme is not my usual and I must admit that I do not use orange or yellow very much. 

But I do like these cards and they look much prettier in the hand.

I used a mixture of flowers and leaves on them from foam ones that I made myself to silk ones that I bought ages ago.

This card to the left is a Gatefold created from the die set and I used the border die to produce the Belly Band just to add a little difference to the design. 

I hope you enjoy the video, it is long enough for you to have a cuppa with it ... and don't forget the biscuits too

More tomorrow ...

Hugs xx


June 15, 2023

Oldie but Goodie ...

Hi Everybody,

Today I thought I would share an older video with you using a die set that was one of my favourites when it was launched a couple of years ago.

This was the Channel Card and this particular design was the Rambling Rose to make beautiful creations.

There were other design in the launch and also stamps to match but this one really caught my eye with the flowers that are in it.

It is very easy to do and you will not be disappointed with your results.

You will find all the Channel Card videos in one Playlist


The video is not long so I hope you enjoy it and if you have the dies then maybe it is time to get them out again and give them another airing.

More tomorrow ...

Hugs xx

June 07, 2023

Monochrome Cards

Hi Everybody,
 
This is an idea that I covered many years ago and it is the monochrome card, which simply means making the card using only one colour, or shades of it.

So I thought I would give it a go again as a revisit to old tutorials on my YouTube Channel

The card to the right is done in blue  cardstock and this has to be my favourite one out of those that I did. 

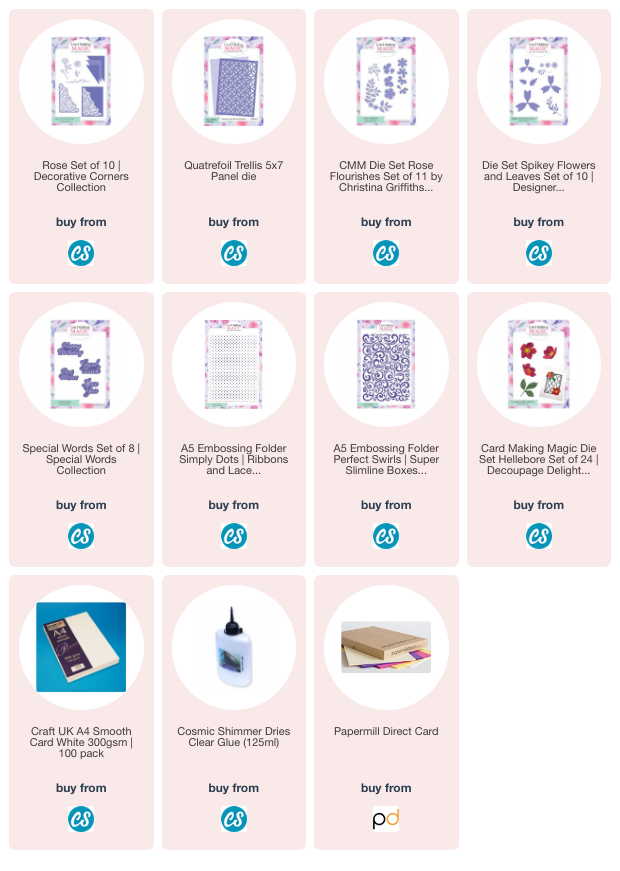
I used  any flower dies that I have in my collections and my favourite Rose Flourish for the leaves.

The background is the Simply Dots Embossing folder from Card Making Magic


This all pink one is very soft and delicate and the flowers is the Hellebore Die Set from 
Card Making Magic

I used all three of the flowers in the set and raised them up with foam pads. 

The centre flower has double pads under it to make it stand out even more.

Using all one colour means you don't have to think about which colour goes with which and if they will clash.

And all my flowers have been added to either an embossed background or a die cut to stop it looking too plain.


This white one is a little more intricate as I have created a wreath from the leaves but I show you in the video how I made this one.

The leaves and flowers are from the same set called Daisy Flourishes and it is not a million miles away from the Rose Flourish.

The background is from the 5x7 Quatrefoil die set. 

The flowers I have layered all together to make full blooms and a white pearls is added to the centre of each.

They are all really pretty cards and can be for male or female depending on the colours you use.

Still they may appeal to you as we all like different things.

More tomorrow ...

Hugs xx

June 05, 2023

Old Technique re-visited

 Hi Everybody,

I have been going through old videos on my YouTube Channel and I thought it would be a good idea to re-visit some of the older ones and do the techniques again for those that are new to cardmaking

This is a technique I have covered many years ago and I thought that this was one of the ones I could re do and give it another airing and make some fresh cards.

I have added it to a playlist named Everyday Items and I will add all the new videos using things you can find around your home in there. 

So here is the video using a really cheap shaving foam from the supermarket. I think it was less than 50p so look for the cheapest when you buy.


In the video I have dressed some of them up but left others plain so that could be suitable for any male cards you may need to send.

Have fun creating the backgrounds and you will never get wo that look the same. 

Alter the colours for another type of look. 

More tomorrow 

Hugs xx

May 24, 2023

Altenew Flower Cards

Hi Everybody,

All three of these cards featured today are using a die and  layering stencil from Altenew. It is the Bitterroot Flower die set 

I have altered the look by colouring them in different colours and adding them to a different background each time.

This first one has simply been coloured with the stencil direct to card and then that has been layered onto oink mats and a base card of a deeper shade of pink. 

I used the Card Making Magic Torn Edges die set for the layers.

The gingham ribbon has been wrapped around the top two layers before adding it to the base card, and the sentiment is from another Altenew stamp set that has also been added direct to the card.

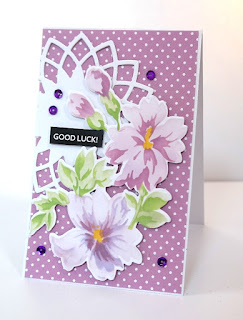
This card has been coloured with purple and lilac inks and added with foam pads to a die cut shape.

The dotty card background has been trimmed to fit an A6 base with just a small border around the edge. 

The card itself is from Anna Marie Designs  and can be seen in this pack from their website. The white die cut is a really old Spellbinders die

You could of course stencil extra flowers or leaves and add them to your card as well to fill out our display even further.

When doing this colouring I find it easier to die cut the shape out first and then stencil the die cut turning the stencil as I need it.

For the card to the right I have created one of my Plaid backgrounds, and the video for that is here

I also used an Alcohol marker and a ruler to highlight the edges which gives the appearance of the card being layered.

This way of giving the layered look saves on postage costs if that is something that you ned to consider.

I thing all three look really pretty whichever colourway you use but the plaid one has to be my favourite

And they have all been dressed up with either pearls or sequins 

More tomorrow ...

Hugs xx
May 22, 2023

Paper Napkin Cards

Hi Everybody,

As promised today I am adding the video showing how I made these cards with paper napkins.

There are so many designs to choose from that you never need to be stuck. Lots of beautiful florals and lacey designs for any of your feminine cards.

For the men you could choose  a geometric pattern or maybe something with animals or boats on them and then add the sentiment to suit the occasion.

.

I was limited to what I could find in the shop I went to and I didn't have the time to look elsewhere but the patterns are out there if you have the time to search for them.
But I will be on the look out now for more to use in this way.

And don't throw away the layers that you peel off the napkins as they can always be used in a previous technique that I showed in a previous video that I have linked below

                      Everyday Items ....

Here is the video on how I made these featured cards and I hope you enjoy watching it


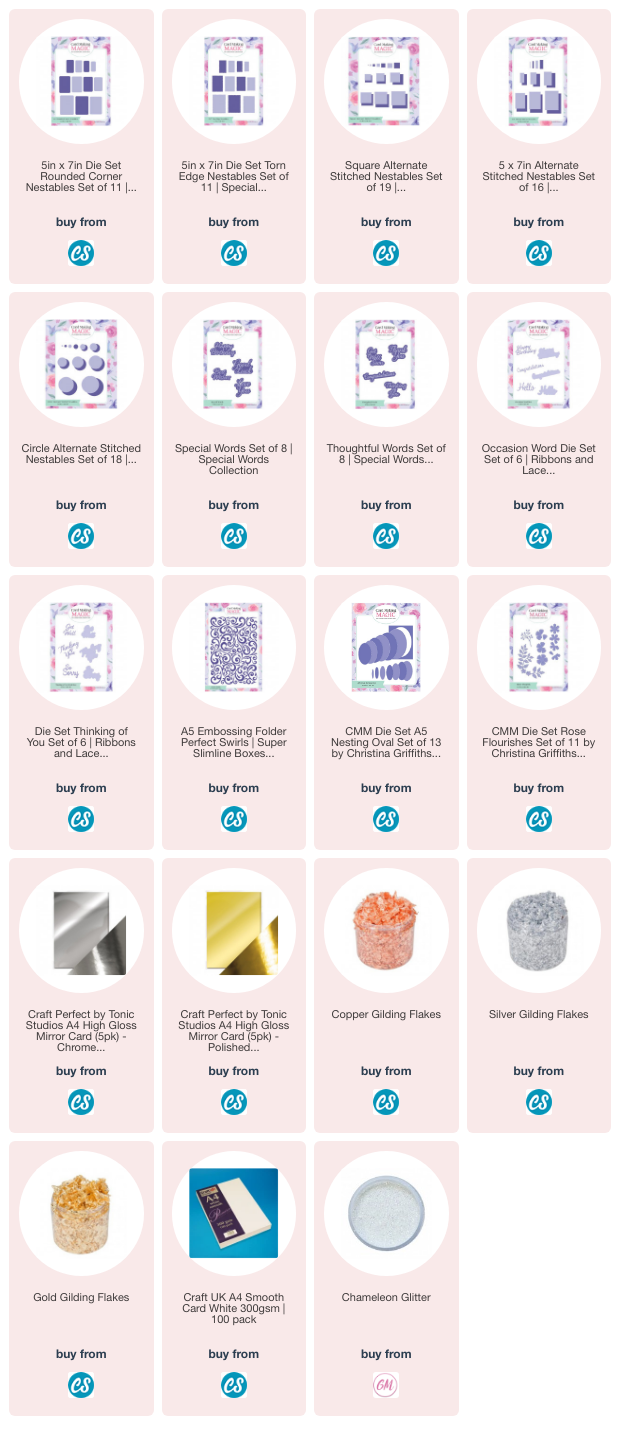
Make use of any dies or embellishments that you already have to add more to the card and I have added links to the Nesting Dies that I used in my creative process.

More tomorrow ...

Hugs xx

March 23, 2023

Using Older Dies

Hi Everybody,

This pretty card is one that I created for a neighbour and I filmed the whole process .... and then stupidly erased it from my camera before downloading it to be edited. 

I could have kicked my self when I realised what I had done but of course it was far too late as there was no way I could get it back.

Or so I thought ...

Until today when I searched my computer, and lo and behold there it was. 

I was so pleased about that and now that it is edited I am adding it to the blog pages and I hope you enjoy it.

                 
And when it is her birthday I hope that my neighbour will like her card too.

More tomorrow ...

Hugs xx

March 15, 2023

More Older Dies

Hi Everybody,

Today I thought I would share an older video, that is now five years old, but the dies and the ideas in them are timeless. In this I have used Transfer Gel

And this was me playing with hot foil years ago and sadly I am no better at it now. The principal behind this video was to get five cards into one box.

The dies are from the original Christina Collection and these are the sets that started the whole thing off.  

And don't forget that ALL Card Making Magic Collections are designed to work together ... old and new !!

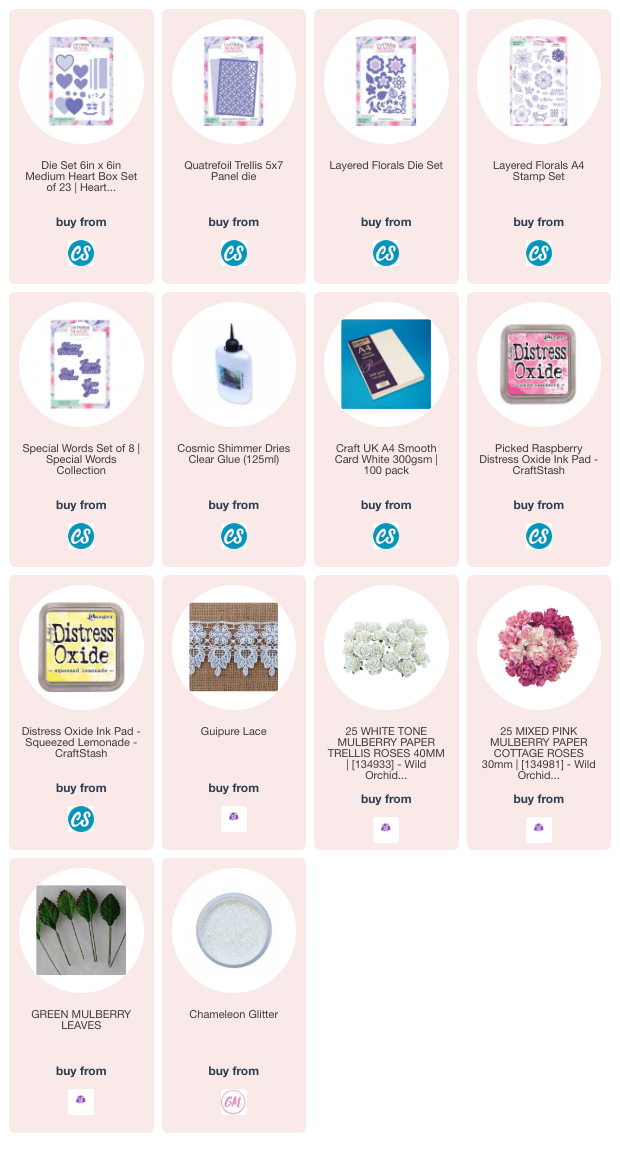
The Layered Flowers has become one of my favourite sets to use and I have used it on lots of different sized card and boxes for all occasions.


I have enjoyed looking at these older dies and videos as it is always good to remember what we have and to dig them out again and re use them.

 And that applies to any crafting goodies that we have bought in the past that now languishes in a drawer somewhere.

More tomorrow ...

Hugs xx

March 14, 2023

Plaited with Love - Masculine Cards

 Hi Everybody,

Staying with the new collection I have made lots of cards using more masculine colours, and not a flower in sight.

But although they are for the men in your life they still don't need to be boring and so I have dressed my cards with leaves and sentiments.

You want the recipient to enjoy the card they get and to feel that you have still made some effort to hand make something really special just for them.

You will know what their favourite colours are and don't forget that some men do like flowers on their cards

In the video I have ended up making ten cards  and I hope you will like them, and enjoy the video. 


I have used all the elements in the collection to create my cards, but please remember there are many more different combinations that you can use with these die sets, and never get bored with the cards that you make.

Some ideas would be shaker cards, split cards, arrow cards and twisted cards to name but a few. 

And there are lots of different parts to each die set to help you be creative using them.

More tomorrow ...

Hugs xx


March 13, 2023

Plaited with Love - Squares

Hi Everybody,

This card uses the smaller dies from the Square set in a different way to give an unusual look to your cards.

The vidoe will show you how I created this centrepiece for my design and it is easy to do. 

Try this with any dies that you may have in your collection and see what you can come up with. 

The flowers is also handmade but I have not covered that in the video. It is done from Flower Forming Foam and the result is quite a large bloom for my card.


This Poinsettia is also made from foam and this time I have inlaid the die to cut the pattern into the card
 
I really hope you are enjoying these videos, and if you bought the dies, or any part of this collection, then I hope you have had your imagination working to create your own individual makes.

More tomorrow ...

Hugs xx


March 08, 2023

Plaited With Love - 5x7 Card

Hi Everybody,

Today I am using my all time favourite size of card and that is the 5x7 and once again I have used the stencil to create the background.

I love this size because it is large enough to fill with beautiful flowers and embellishments but not so big it is cumbersome. And it fits into a box so well,  and makes a lovely gift. 

For this card I have used the detailed panel to cut into the card and create a see through design which looks very pretty in the hand. 

To the back you can add mirror card or acetate or even parchment if you wished and each one would give you  a different look.  


For the blue card I have used the same set of dies and turned this into an Easel Card using one of the strip dies as my stop.

I did not use the stencil on the pale blue card just the dies them selves.

They look totally different from each other by changing the colours and the way the dies have been added or used on the card.

And these cards, lacking the flowers, would also be suitable for the men in your life 


This is a very versatile set to have and I have more videos to add showing some great combinations to work with.

More tomorrow ...

Hugs xx

March 06, 2023

Plaited With Love - A5 + Stencil + Circles

Hi Everybody,

This new collection is so much fun to play with and it can be adapted to any size card you wish to make.

For this card I have used the stencil as it really makes the backgrounds stand out, and I should make much more of the stencils that I have.

The flowers are silk and I have had them for a long time but the leaves and greenery are cut from a die set that is fast becoming a favourite.

The video will show you how I got this look and I have more to be added over the next week or so. I hope you enjoy.


All these dies can be used separately or can be mixed and matched with each other or any other dies that you have from previous collections.

More tomorrow ...

Hugs xx

March 02, 2023

A5 Nested Die Set

Hi Everybody,

Do you remember these boxes? All created from the A5 Nesting dies.

I can't believe it, but this video is now three years old and I thought I would add it again here as a reminder of what this set can do.

And they do work well with the A5 Card & Box Die Set giving you even more variation to the size of the boxes and cards you make.

This is also a reminder to dig out your older dies and put them to good use again, and get more for your money with each use. 


Don't forget to join me tomorrow on Craft Stash Facebook Live, or their YouTube Channel, at 12.30 for some fun time with Lou and me.

More tomorrow ...

Hugs xx

March 01, 2023

New Collection

 Hi Everybody,

Just a little video to introduce you to the new collection launching on Facebook Live this coming Friday
 
I hope you can join me then and hopefully win some of the fabulous prizes that will be on offer.

This is just one of the cards that I have made with these new items and I have had a lot of fun playing. 

You can make them as fancy or clean and simple as you like but you know me I always add loads to most of my designs.

I will be adding videos to the blog pages showing all the different designs I have come up with and I hope you enjoy some of my ideas.


More tomorrow ...

Hugs xx


February 23, 2023

A6 Collection - Cards, Box & Envelopes

 HI Everybody,

Here is the box and it is slightly deeper than the other box sets.

But this is to to your advantage as it means that you can get six ... maybe more ... cards inside, complete with envelopes for you to give a s complete gift to someone.

These can be "Thank You" cards, teacher appreciation cards , birthday cards or anything that you enjoy giving a card for but it enables you recipient to have card on hand whenever they need to send one out.

Add some stamps and a pen in the box too and it is a complete package for a Christmas present to them.


Just make sure that you use paper and not a thick card to make your envelops or they will not fit into the box with the cards. You could pre make a stack of ordinary ones also from copy paper and keep them on hand ready to use.

More tomorrow ...

Hugs xx